Are you looking for ways to create a WordPress notification bar on your website?
A notification bar is an incredibly handy tool. It can be used to capture emails, promote sales and discounts, seek donations, drive traffic to a specific page, and make important announcements, among other things.
Creating a notification bar is not a difficult task if you know which plugin to use. In this article, we have listed down the best WordPress notification plugins and we have demonstrated how to use some of the plugins to create a notification bar on your website.
Let’s dive into the tutorial!
The best WordPress notification bar plugins in 2023
The five best WordPress notification bar plugins are:

Let’s take a quick look at each plugin before showing you how to use one of them.
1. Otter Blocks
Otter is an excellent beginner-friendly plugin that allows you to add 30 new elements to the WordPress Block Editor, including sticky banners, countdown timers, and circle counter. It also offers many options to customize each element. The plugin barely has any learning curve. You can get a WordPress notification bar up and running within minutes.
Get the premium version from here.
2. Sparks for WooCommerce
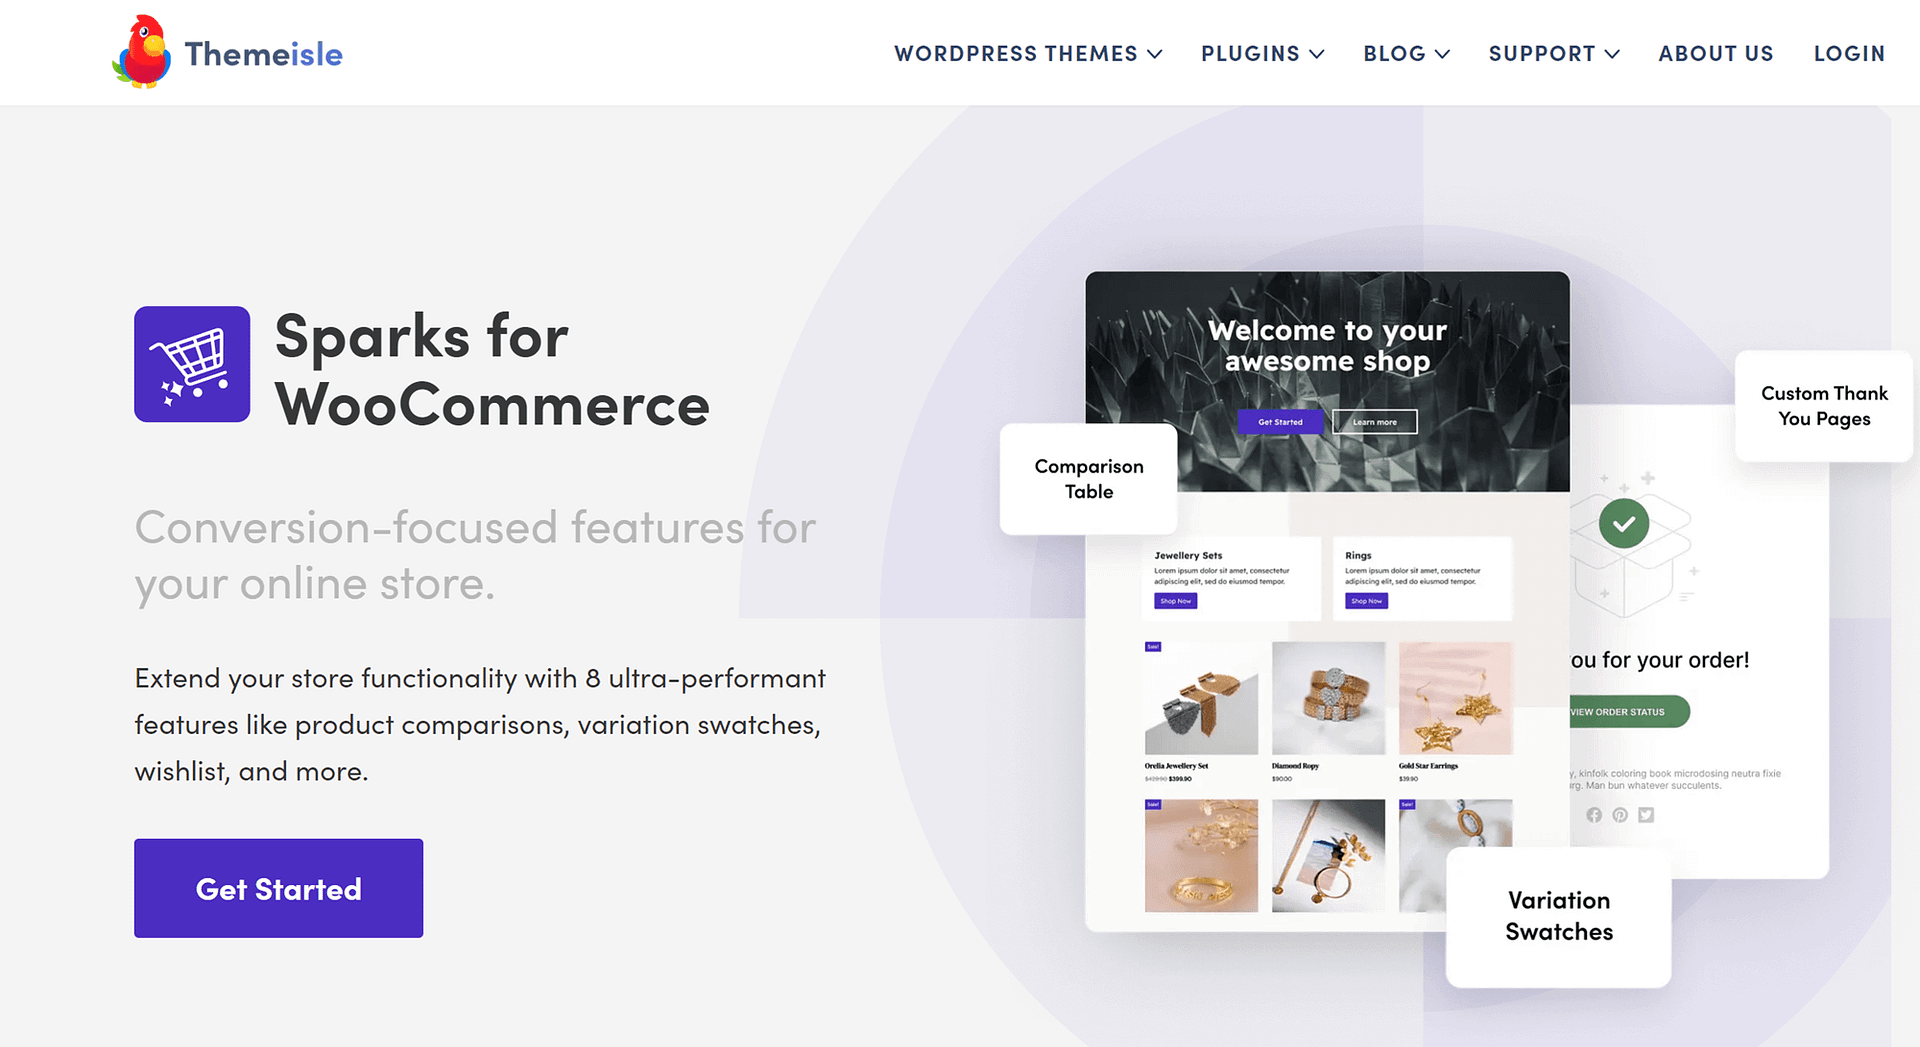
Sparks is a WooCommerce plugin, and it’s designed to help create conversion-optimized ecommerce stores. As such, it also helps craft notification bars for making announcements and offering sale coupon codes and discounts for reducing cart abandonment. Beyond the notification bar, other Sparks features include variation swatches, quick view, custom thank you pages, etc.
Sparks is a premium plugin and can be purchased from here.
3. Hello Bar
The Hello Bar is a simple lead generation plugin that can add notification bars, pop-ups, and sliders to your WordPress site. It offers a range of notification bar templates to choose from and each template can be customized to meet your preference. You have complete control over display position and target setting.
Hello Bar has a free and a premium version.
4. Sumo
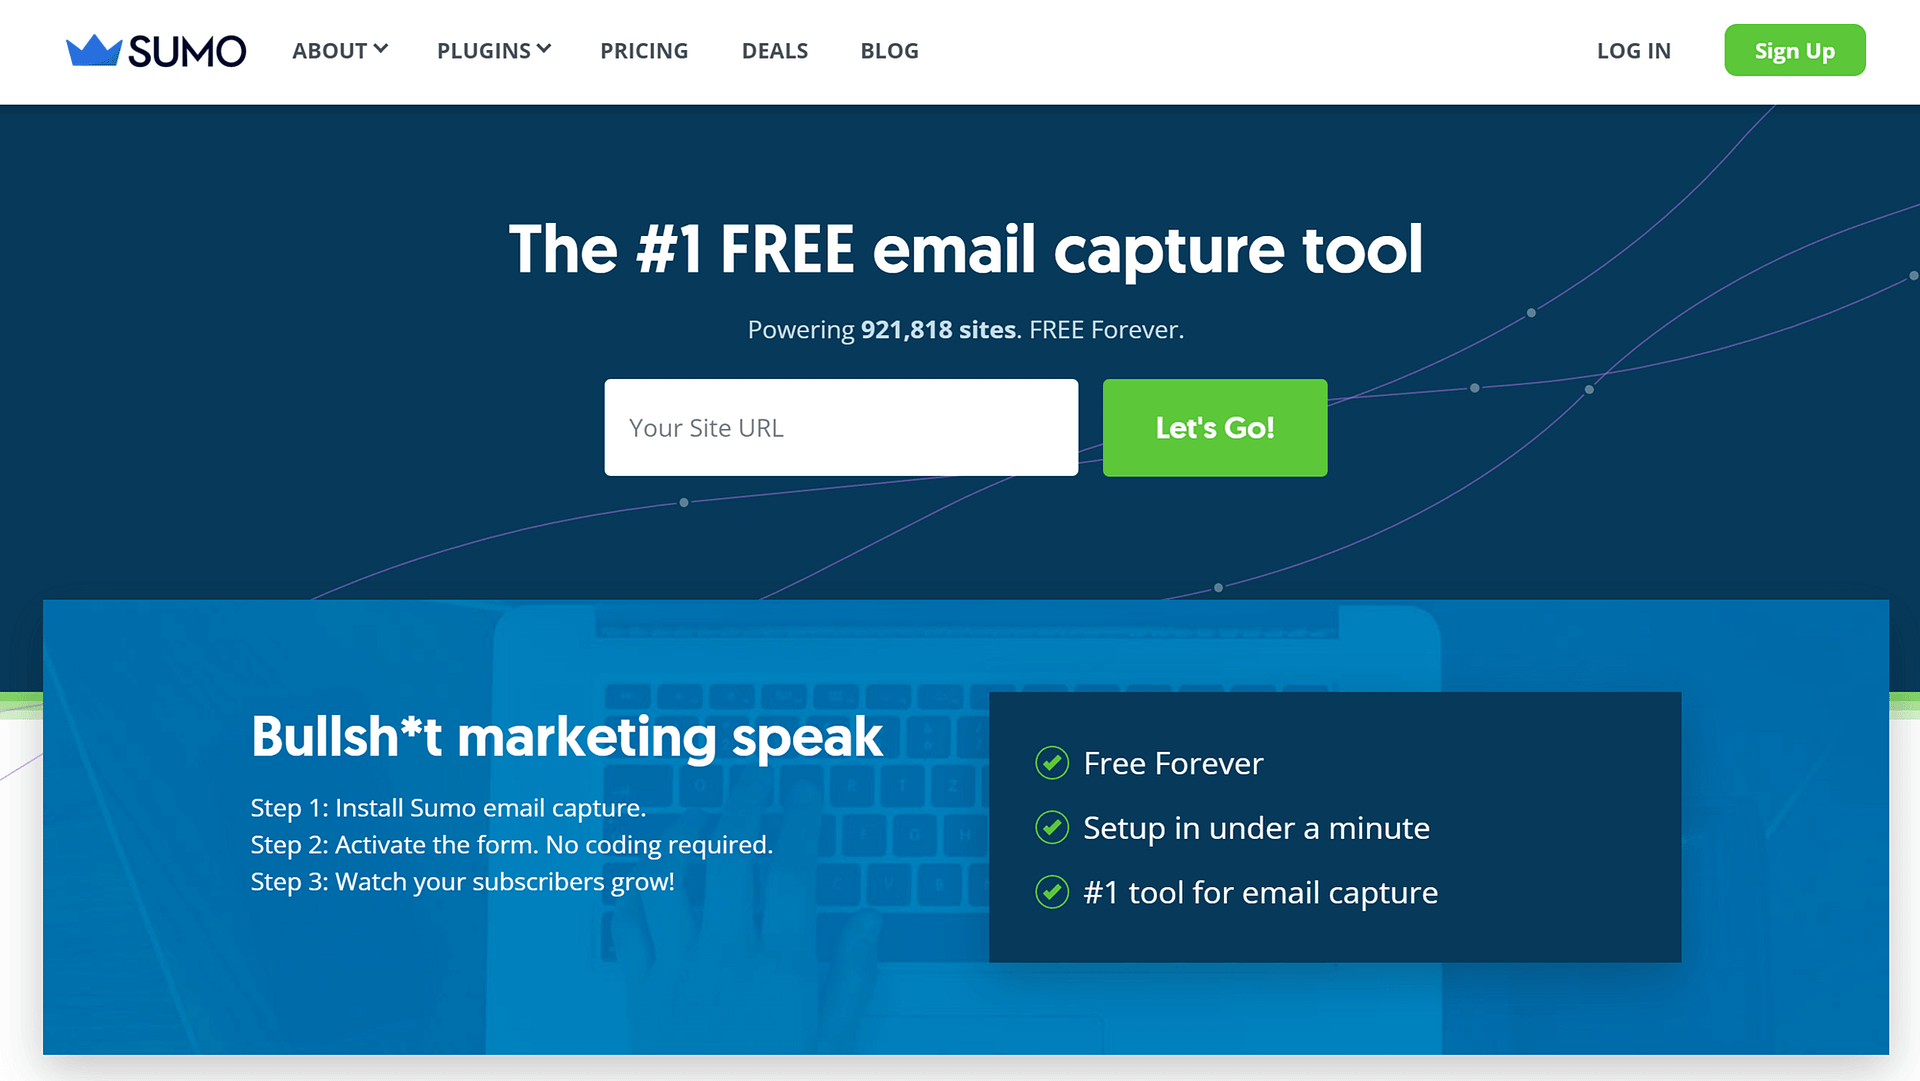
Sumo is another lead-generation plugin that can create notification bars, pop-ups, welcome mats, and social media buttons. Other features include on-site analytics, heat mapping, social sharing, email marketing services, and communication tools like contact forms. Sumo is a powerful but uncomplicated tool.
Sumo has a free and a premium version. Both plugins can be downloaded from here.
5. WPFront Notification Bar
As the name suggests, WPFront Notification Bar is a dedicated WordPress notification bar plugin. It offers predictable settings like display settings, customization options, and a few advanced features like delayed appearances, close and reopen buttons, etc.
WPFront Notification Bar is a free plugin.
These are the best WordPress notification bar plugins. Next, we will show how to use two of them to create a notification bar on your site.
How to create a notification bar in WordPress
We will show you how to create a notification bar in a WordPress website using the Otter Blocks plugin.
We are using our demo site to create a notification informing the reader that some of the links in the articles are affiliate links. You might use the notification bar for a different purpose. This tutorial is meant to give an idea of how to use the Otter Blocks plugin to create a notification bar.
Let’s get started.
Create a notification bar using Otter Blocks
Step 1: Install and activate the Otter Blocks plugin on your website.
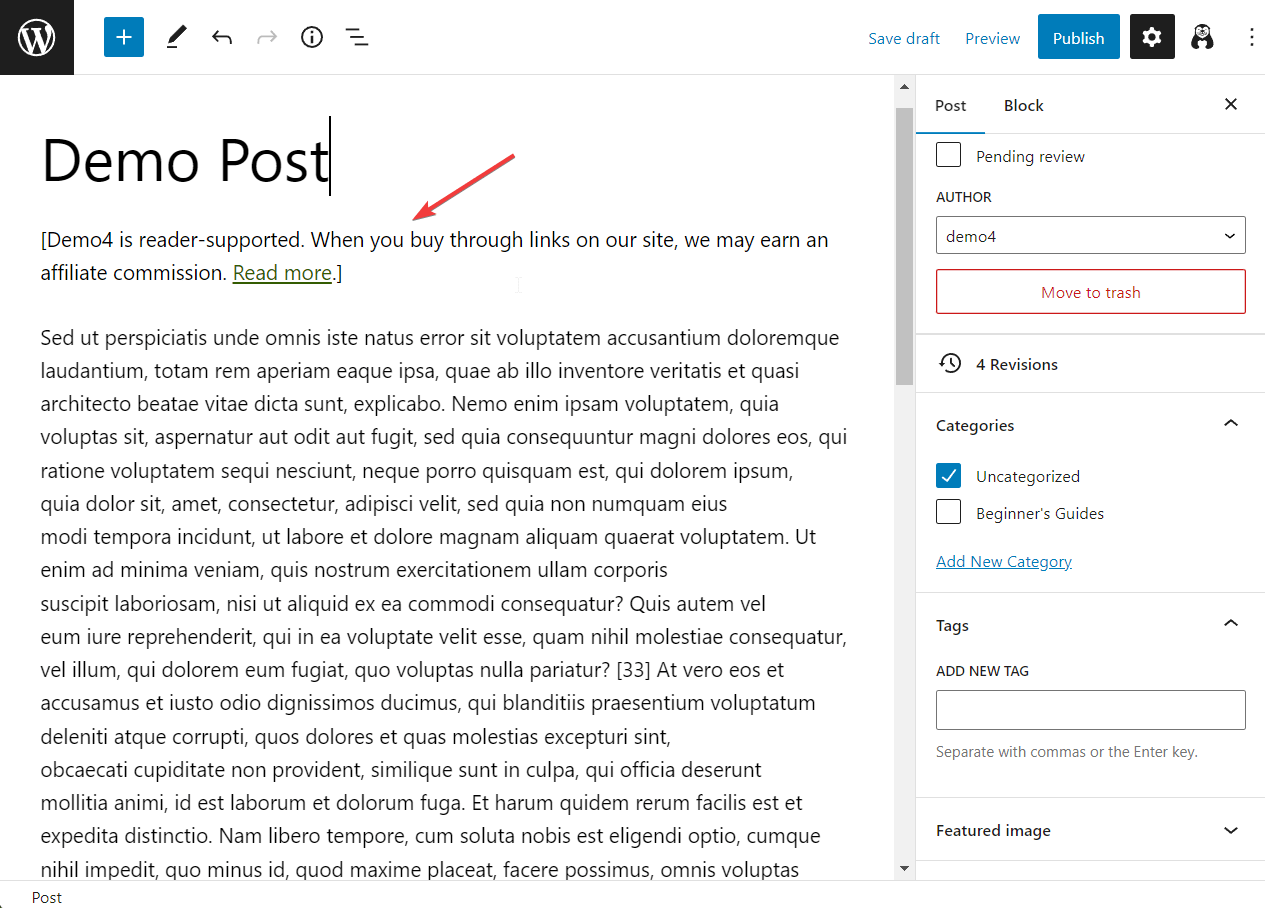
Step 2: Open the post where you want to create a notification bar. Write down the notification message on a block, as we have done in the image below:
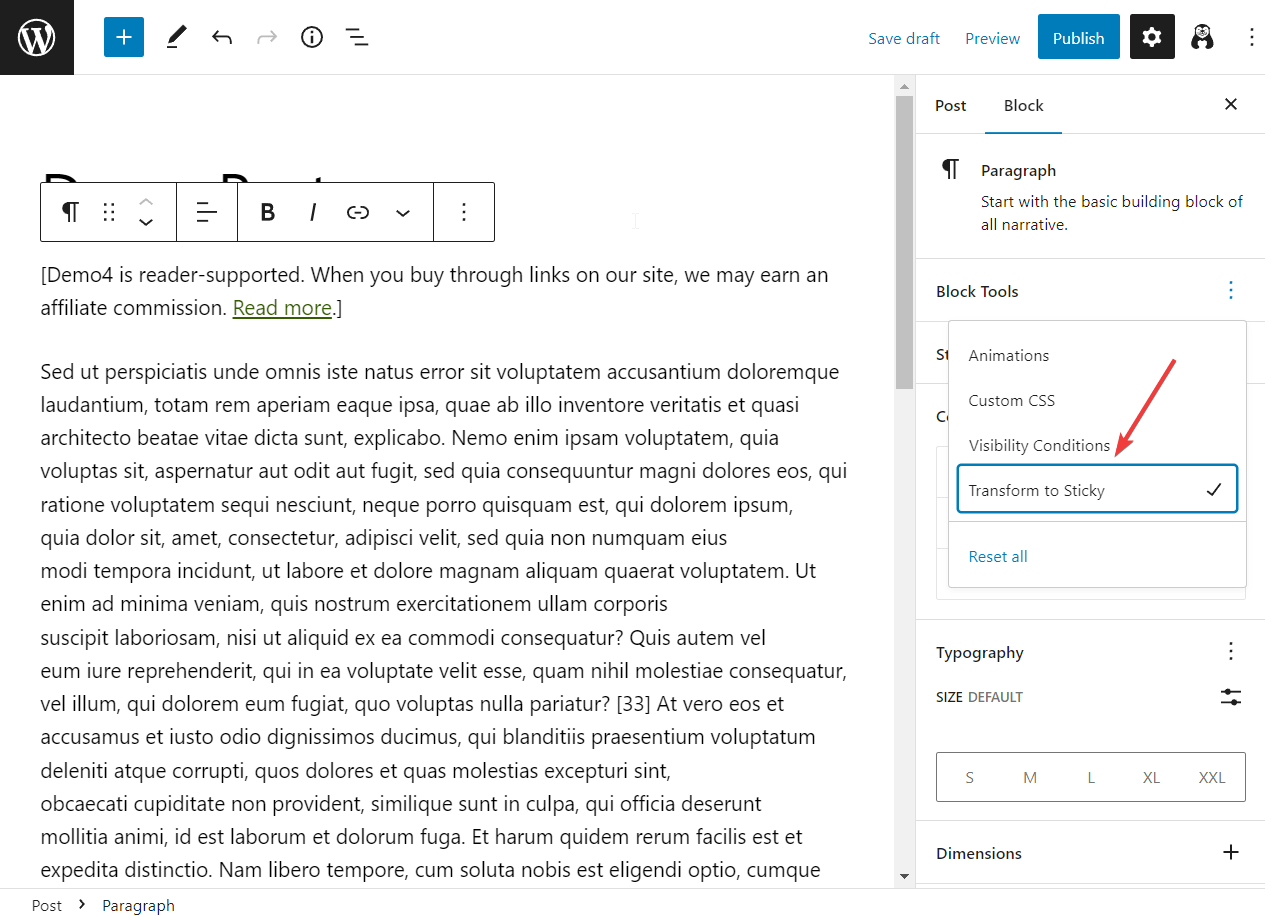
Step 3: Select the text block and go to the Block → Block Tools options on the right side of the screen. From the drop-down, choose Transform to Sticky.
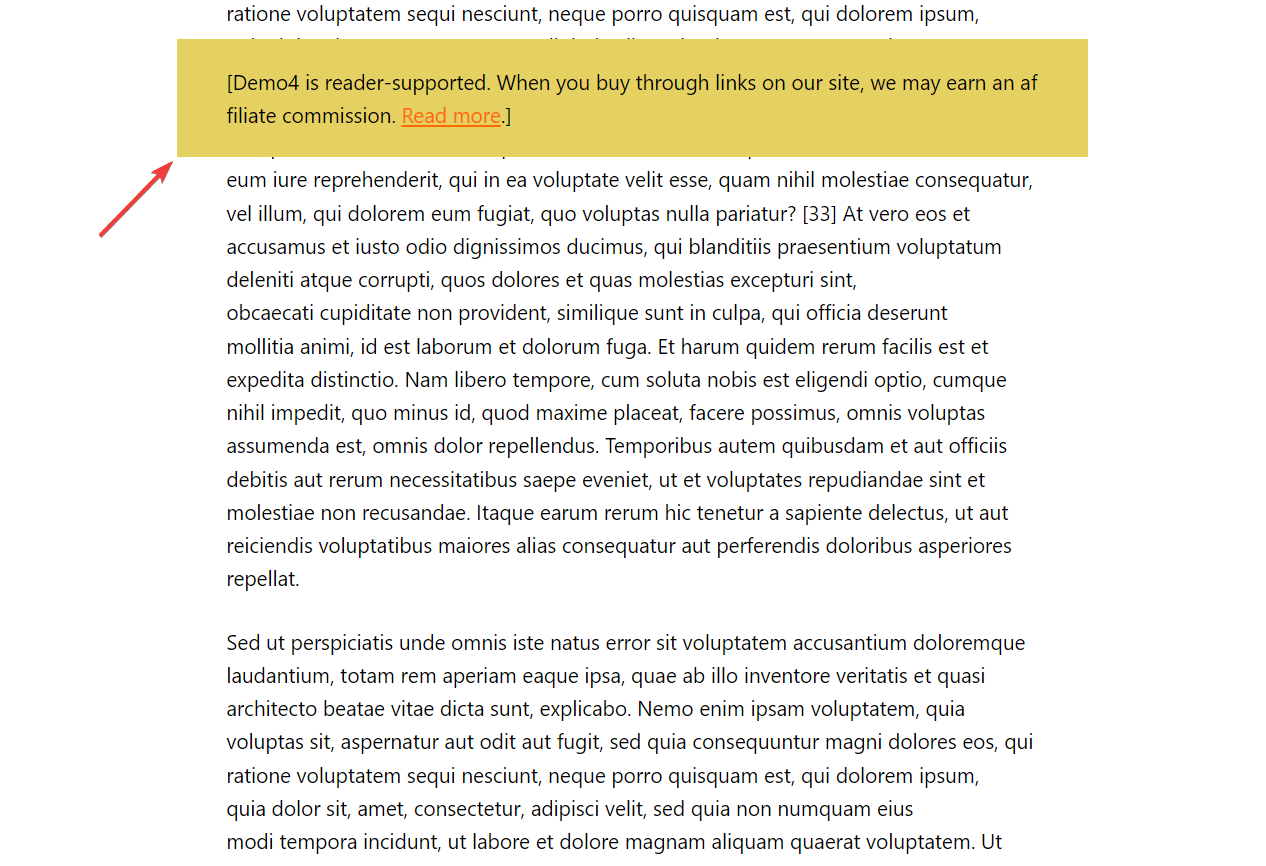
If you preview the page now, you will notice that the sticky notification bar text is overlapping your content:

To prevent this from happening, go back to the editor, and from under the Block Tools, choose Color → Background.
Select a color and it will serve as a background to the notification bar. This visually separates the notification bar from your main content, making it easier for your viewers to read the page properly.
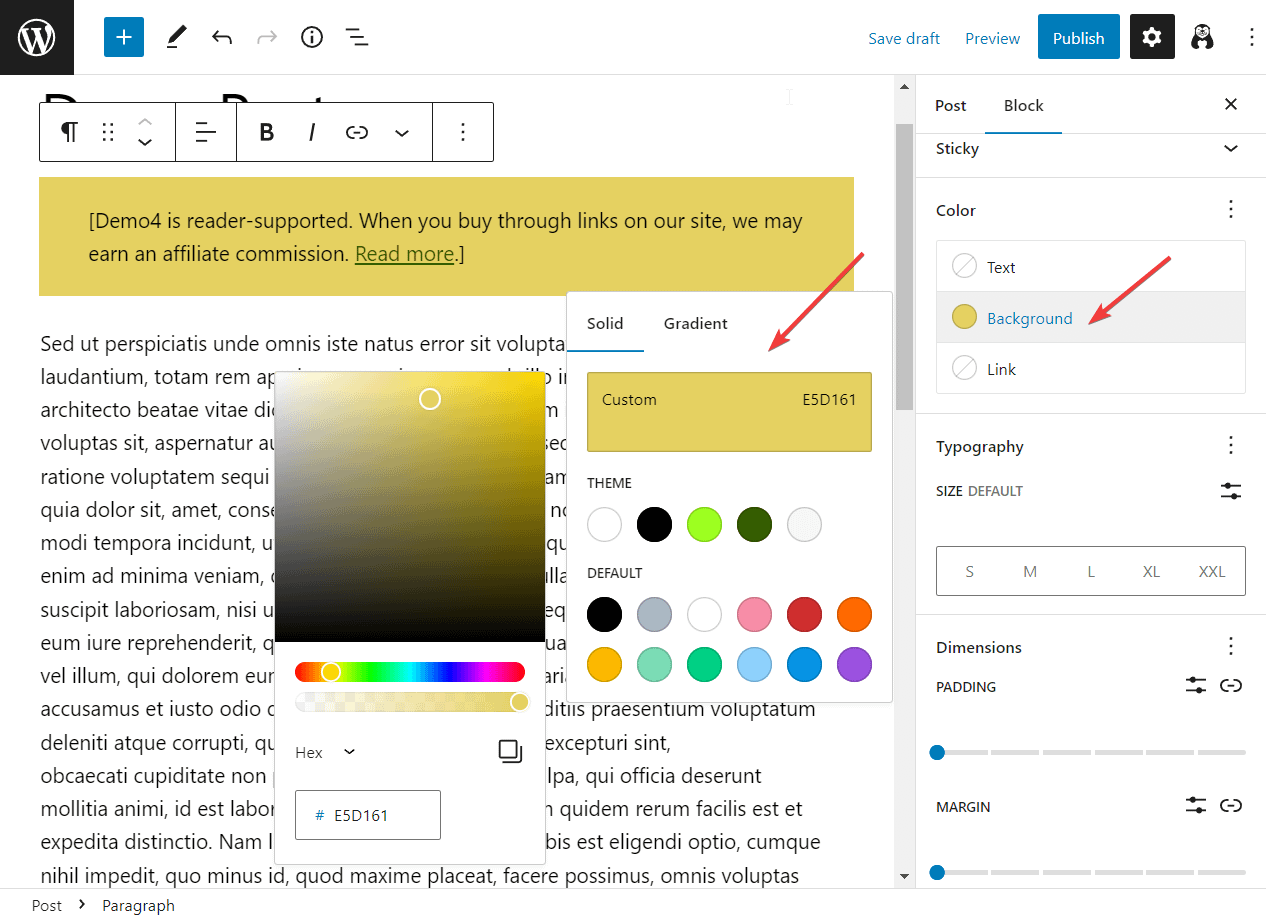
You can also change the color of the text and links, and modify the typography, padding, and margins of the block.
Here’s how the WordPress notification bar looks on the front end of our demo site:
Create a countdown timer using Otter Blocks
Otter Blocks offers a ready-made countdown timer notification bar. You can access it via the Block Inserter found within your post and on top of the screen.
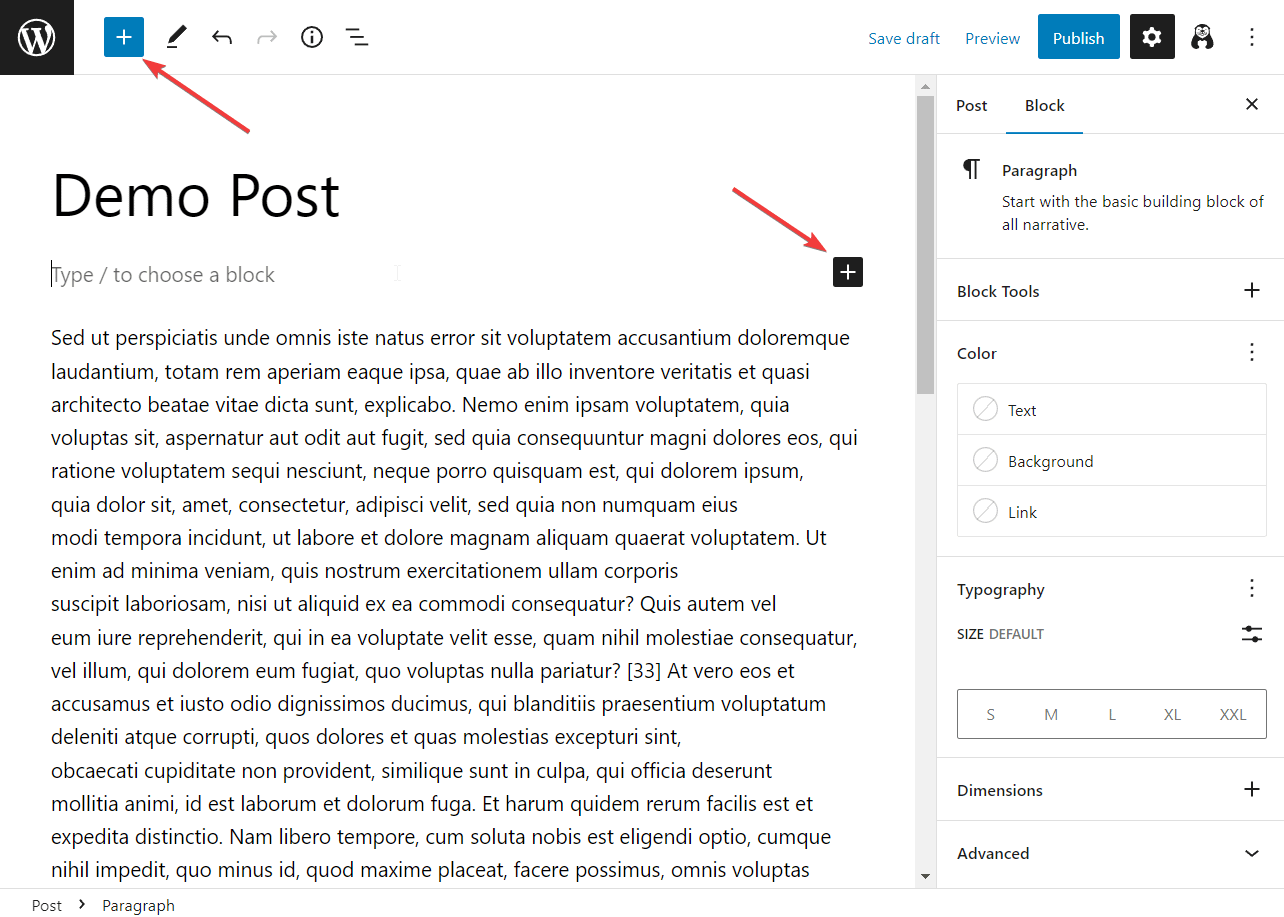
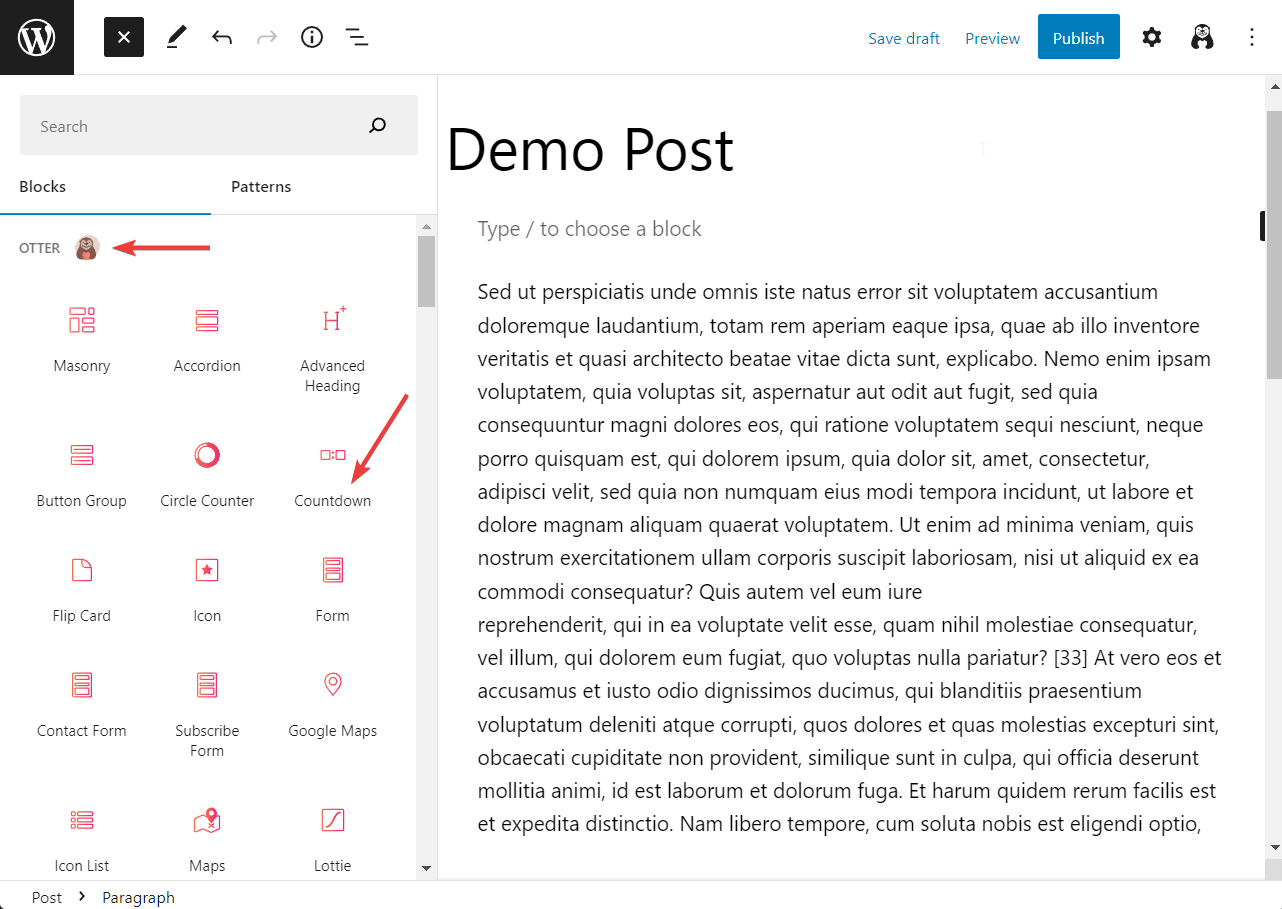
The Countdown timer block should appear underneath the Otter Blocks option in the Block Inserter. If you can’t find it, look for it using the search box.
When you find the Countdown timer, select it and it will be automatically inserted into the post.
You can make the timer sticky using the Block Tools and even change the dimension, typography, colors, and border. These options can be found on the right side of the screen.
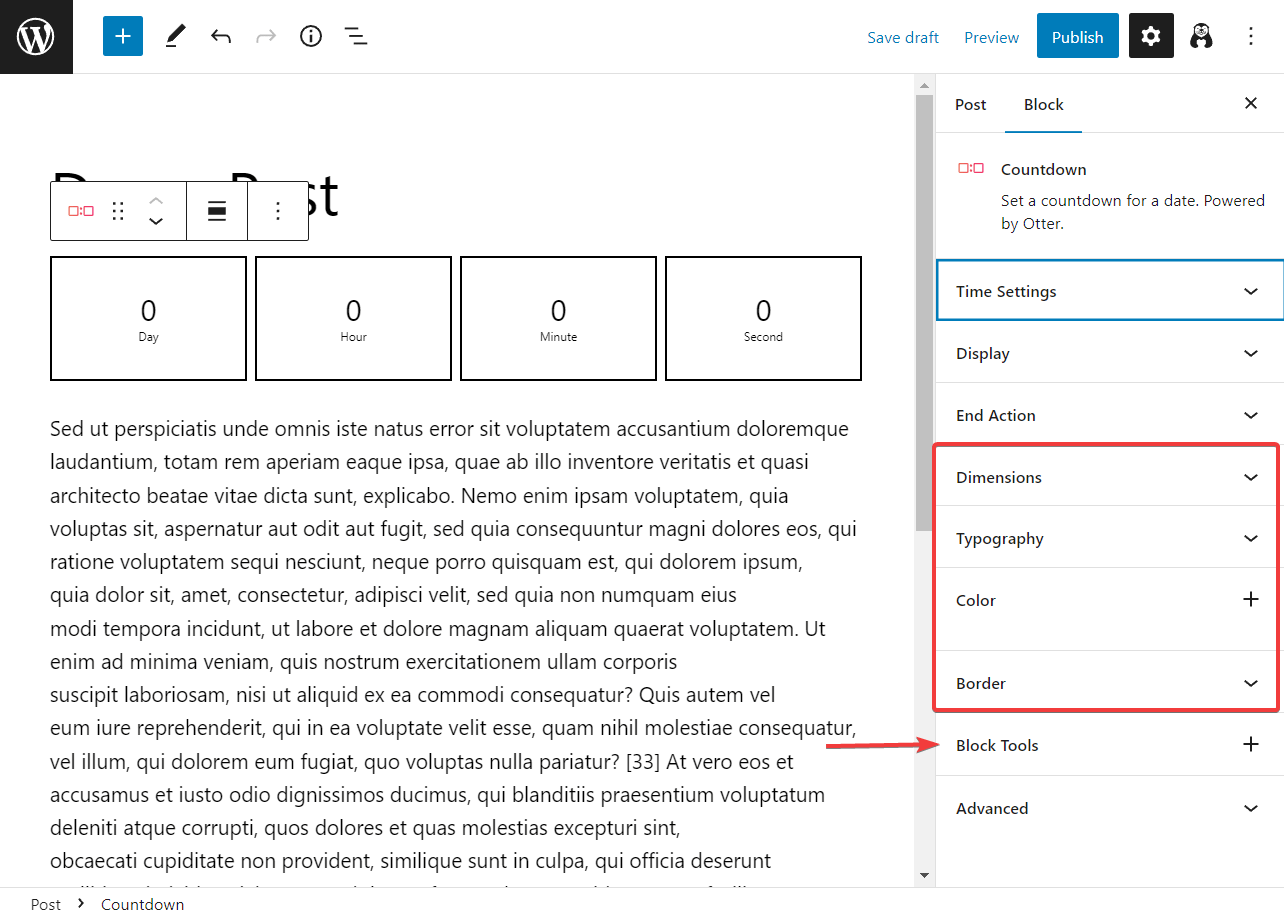
In addition to all these, you can also change the display, that is, choose whether you want to display seconds or minutes, as well as set the date and the behavior of the timer. These advanced features are accessible only to premium subscribers of Otter Pro.
NOTE: If you are using Neve Pro, one of the fastest WordPress themes, then you should be able to access more options. These should include the ability to position the notification bar on the top or bottom, the ability to define how a sticky block will behave when it collides with other sticky blocks on the same page, enabling or disabling sticky blocks on mobile, among other things. Learn more.
How to create a notification bar on WooCommerce
In this section, we will show you how to use Sparks to create a notification bar in WooCommerce.
On our demo site, we want to reduce cart abandonment and encourage visitors to go all the way and buy the product they add to the cart.
So we will offer a gift (say, a mug or a tote bag) to anyone who adds a product to the cart as a way to encourage them to proceed to checkout immediately.
We will inform the customer about the gift using a notification bar.
Create a coupon
Step 1: Purchase Sparks, download, and install it on your WooCommerce store. Then activate the license key of the plugin.
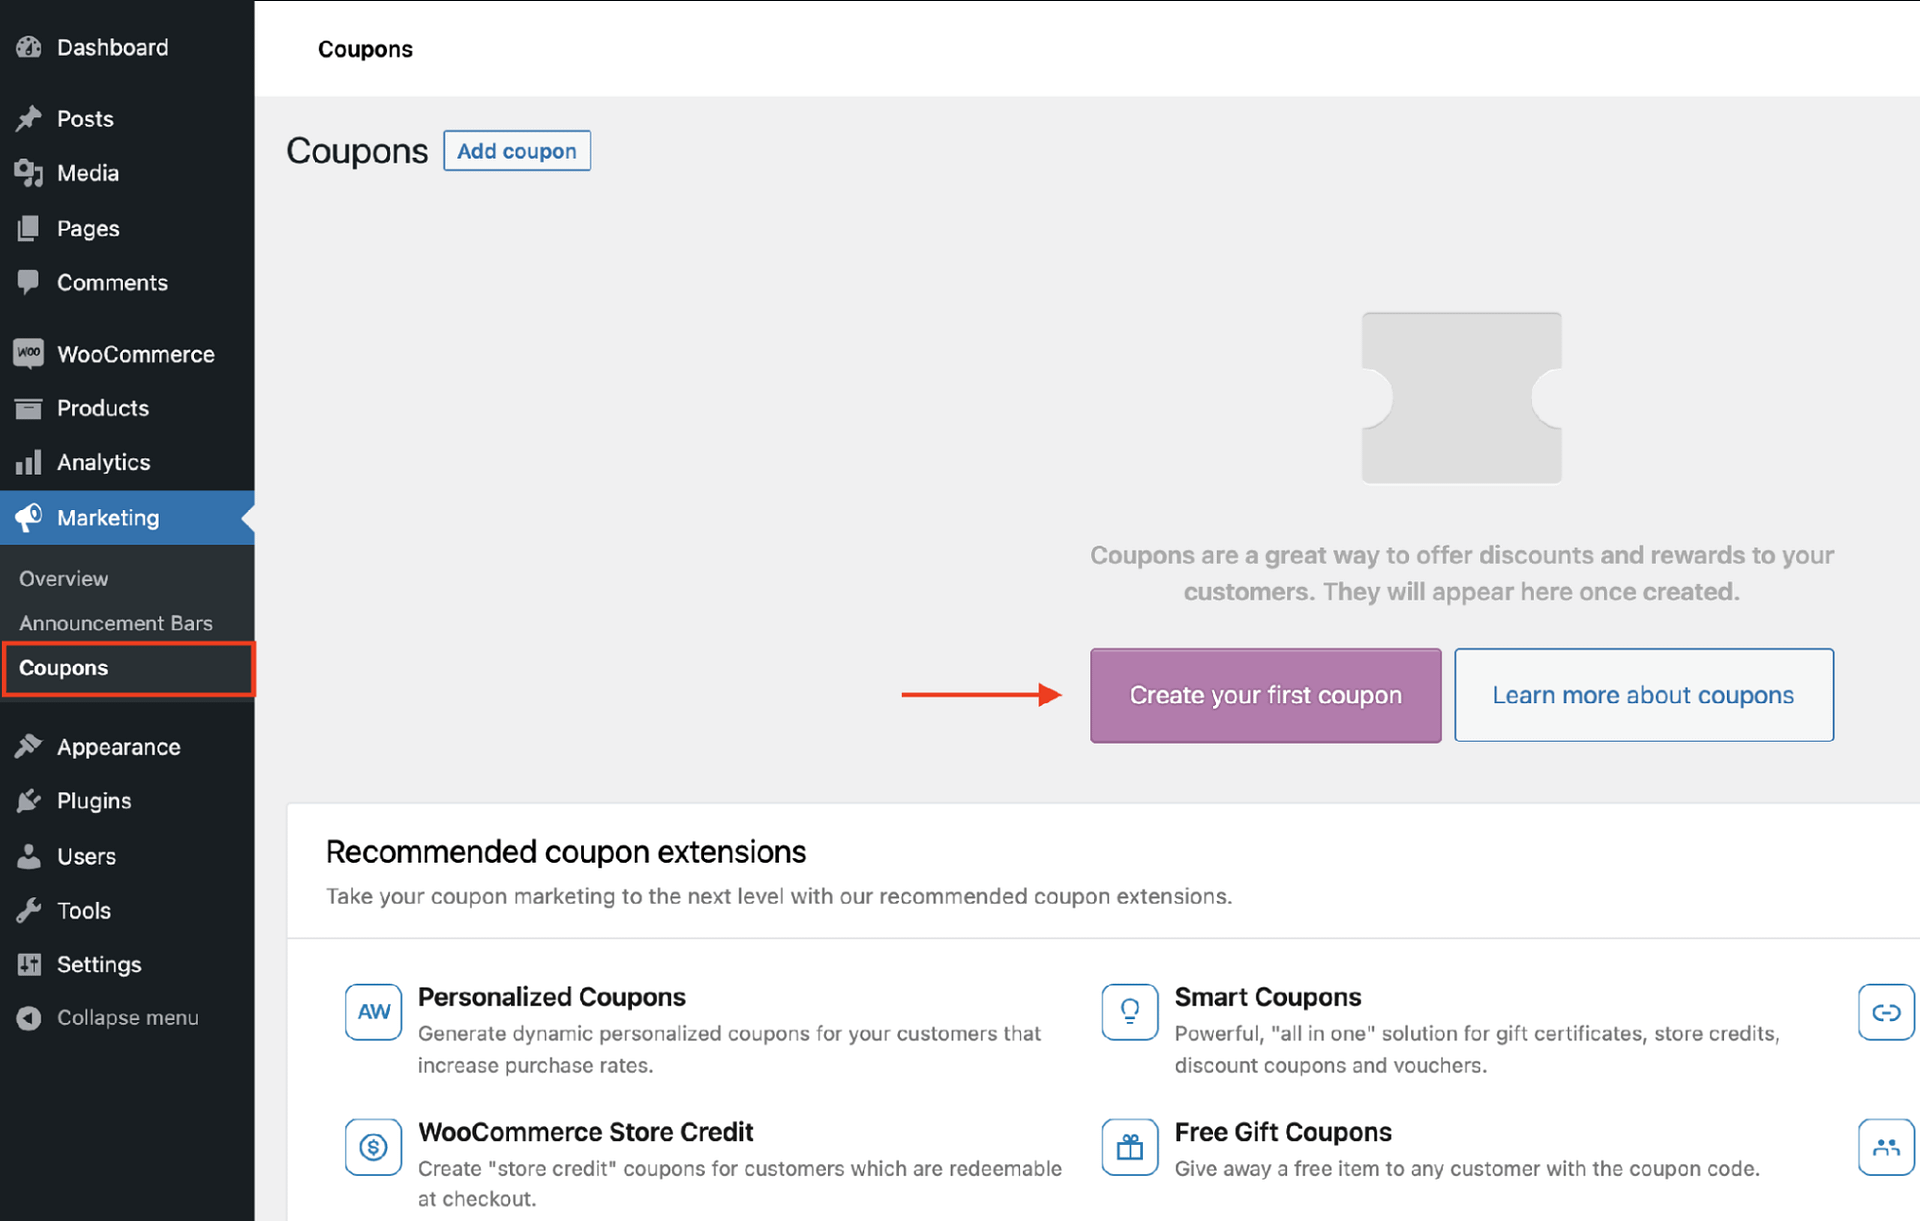
Step 2: Open your wp-admin page and go to Marketing → Coupons. Select the Create your first coupon button.
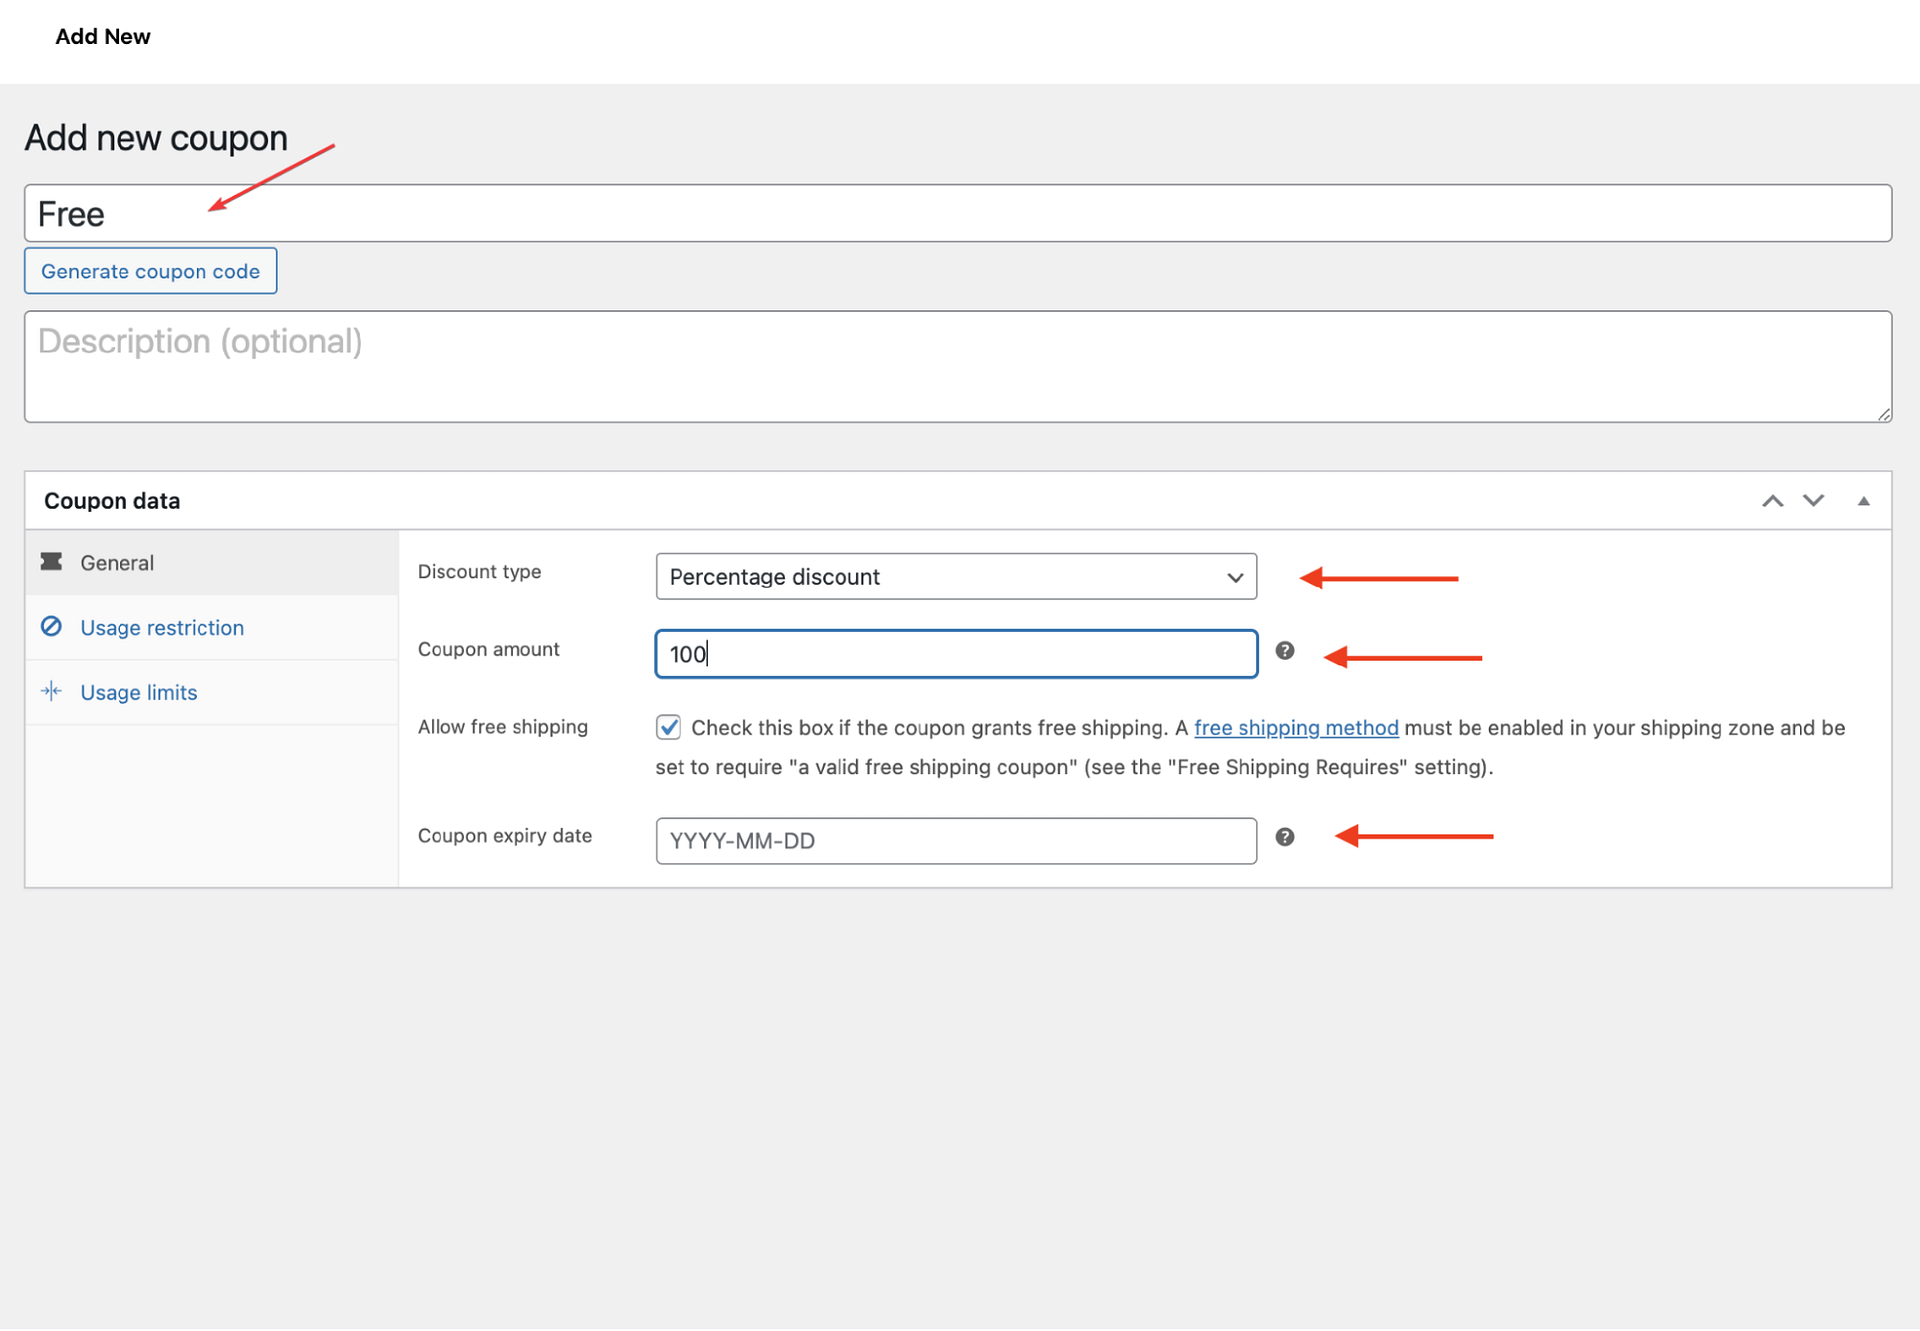
Step 3: On the next page, add a title, then go over to the General tab, and under the Discount type option, choose Percentage discount.
Next, add 100 in the Coupon amount option and insert an expiry date in the Coupon expiry date option.
Then hit the Publish button.
Step 4: Move to the Usage restriction and in the Products option, add the free product/gift you want to offer for free. You need to have the product ready on a product page to add it here.
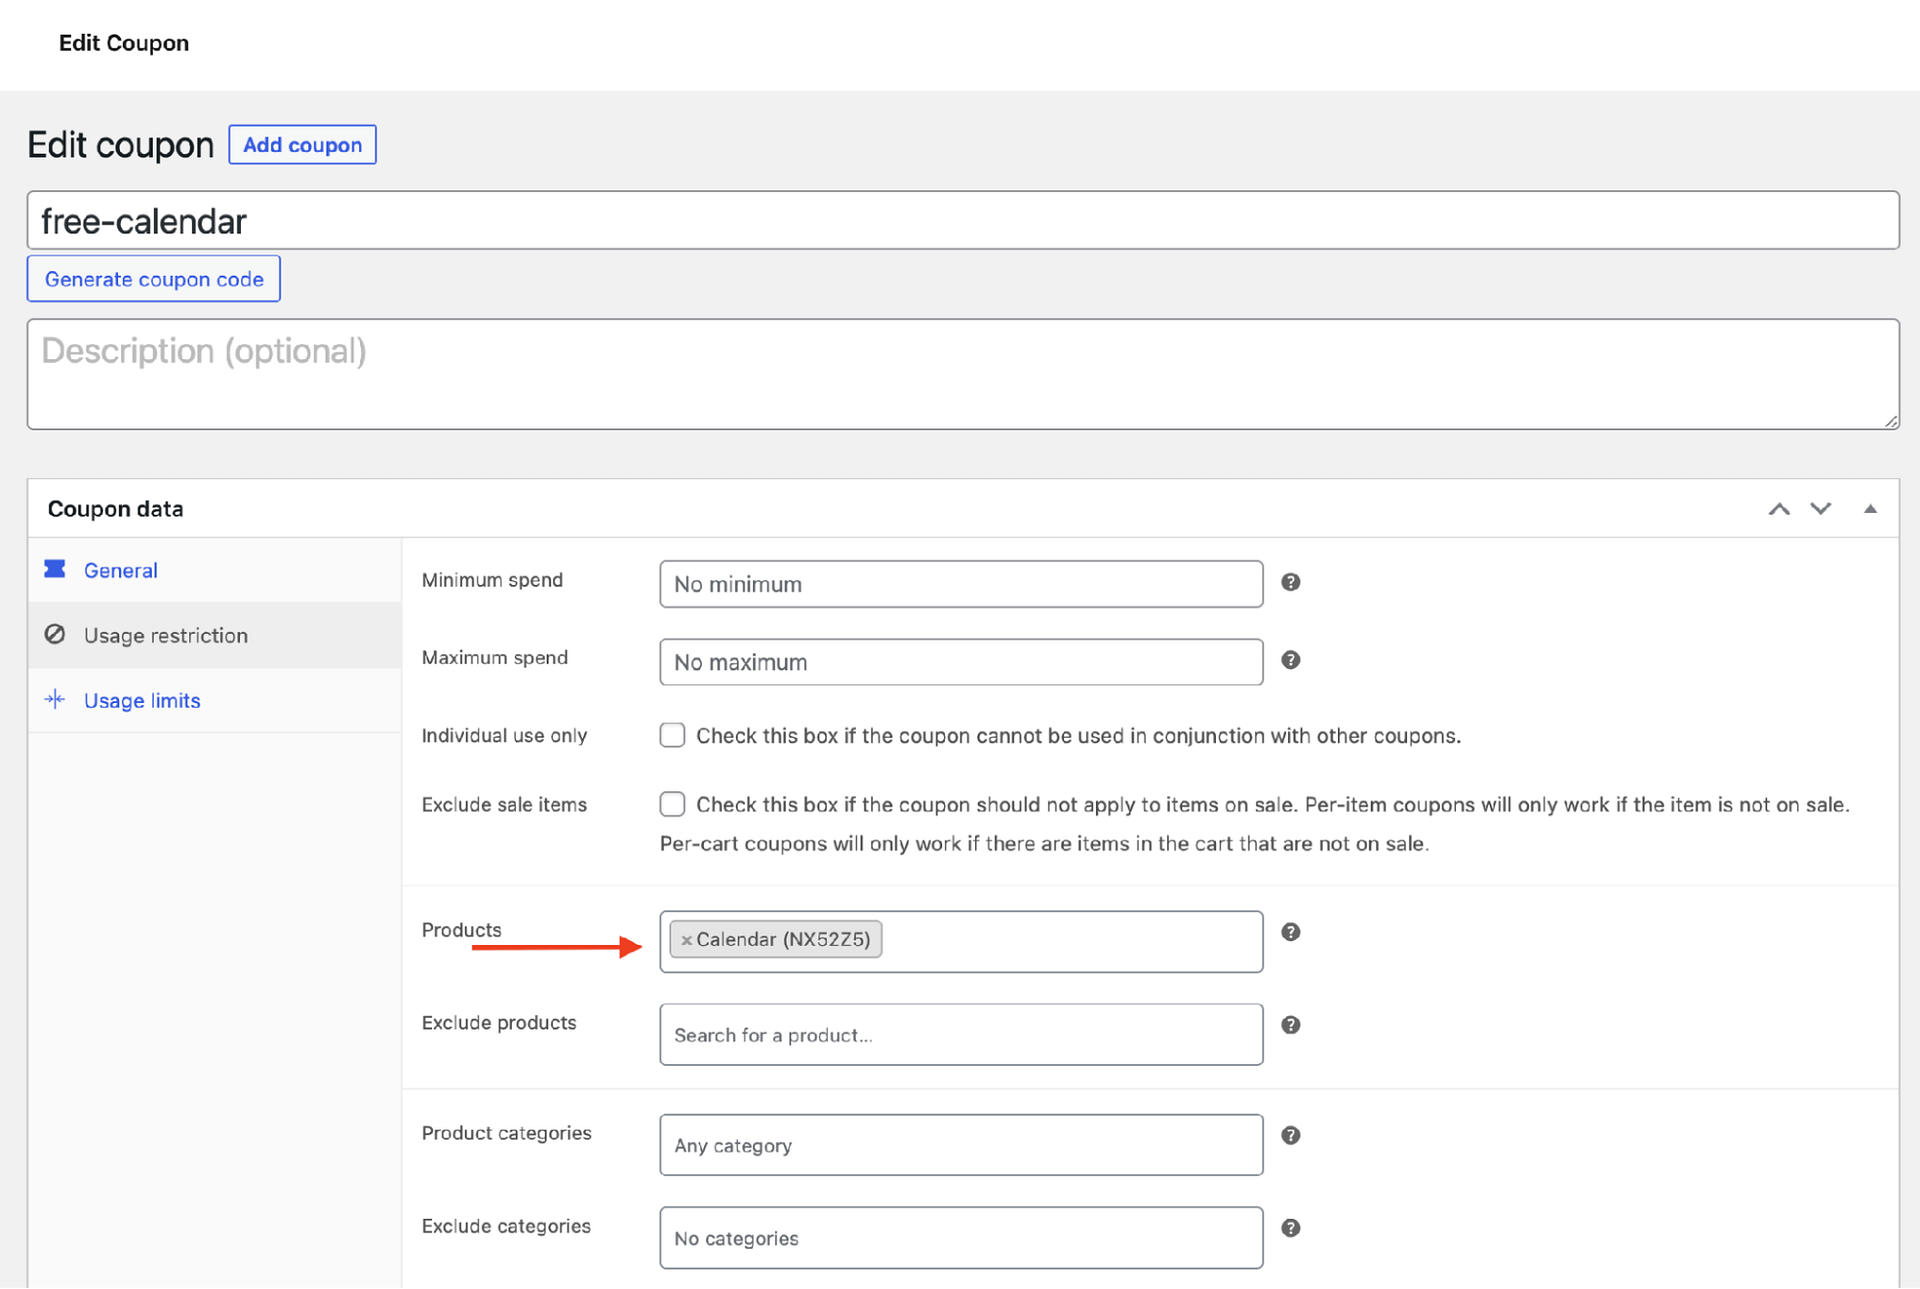
Configure the other options, if you feel the need to. Save your settings by hitting the Update button.
Create the notification bar
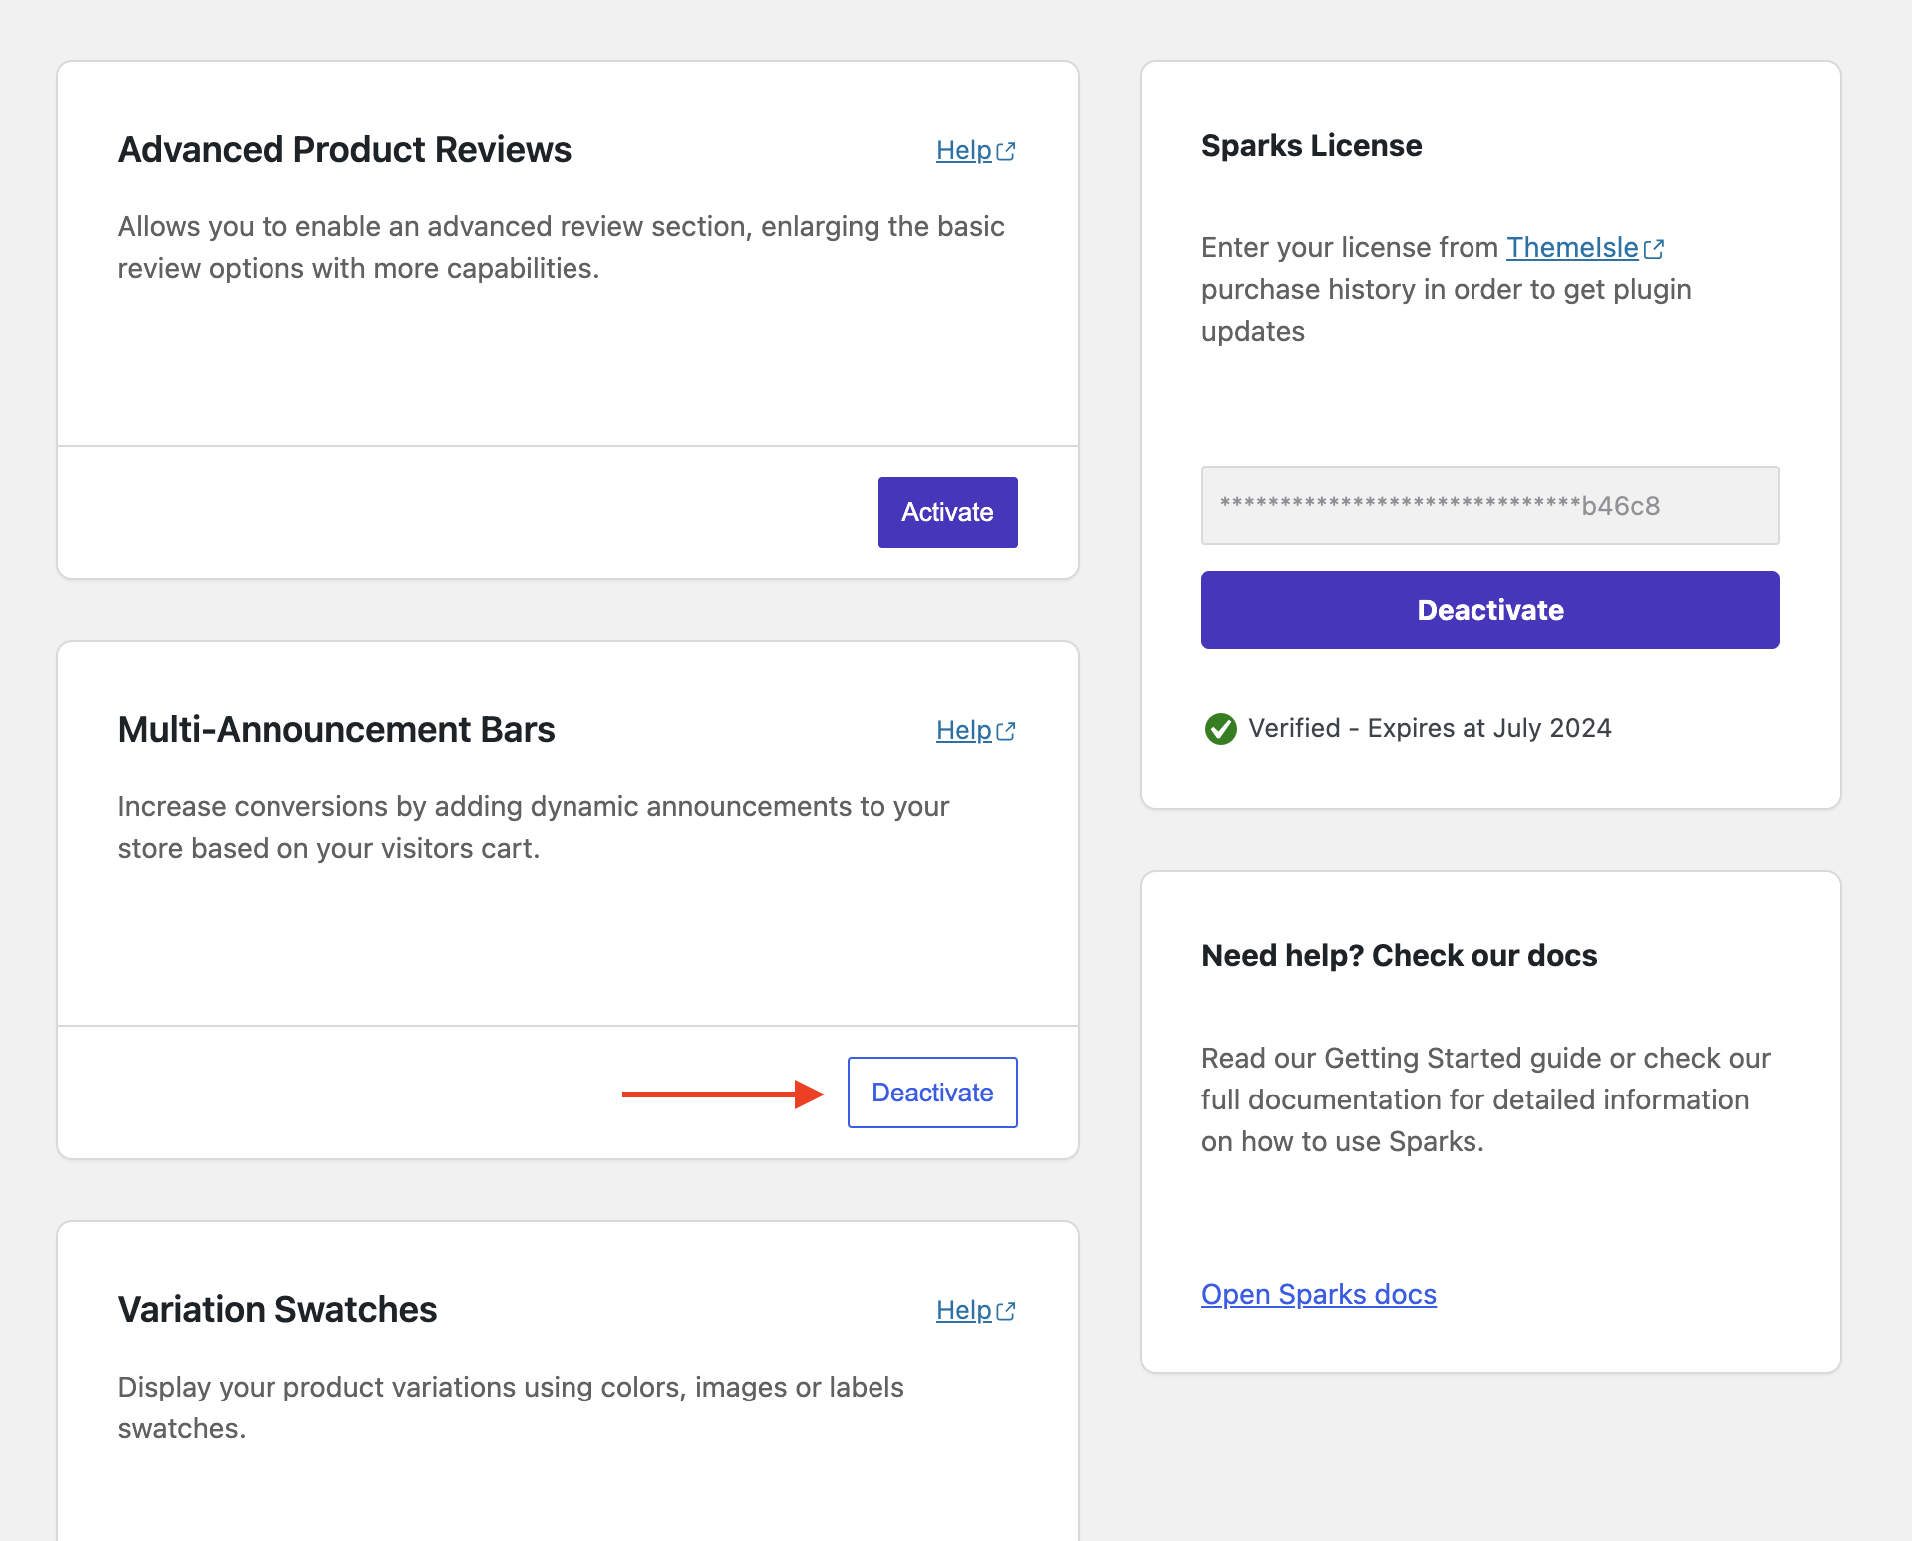
Step 5: Now, it’s time to create the notification bar. Go to Settings → Sparks and activate the Multi-Announcement Bars module:
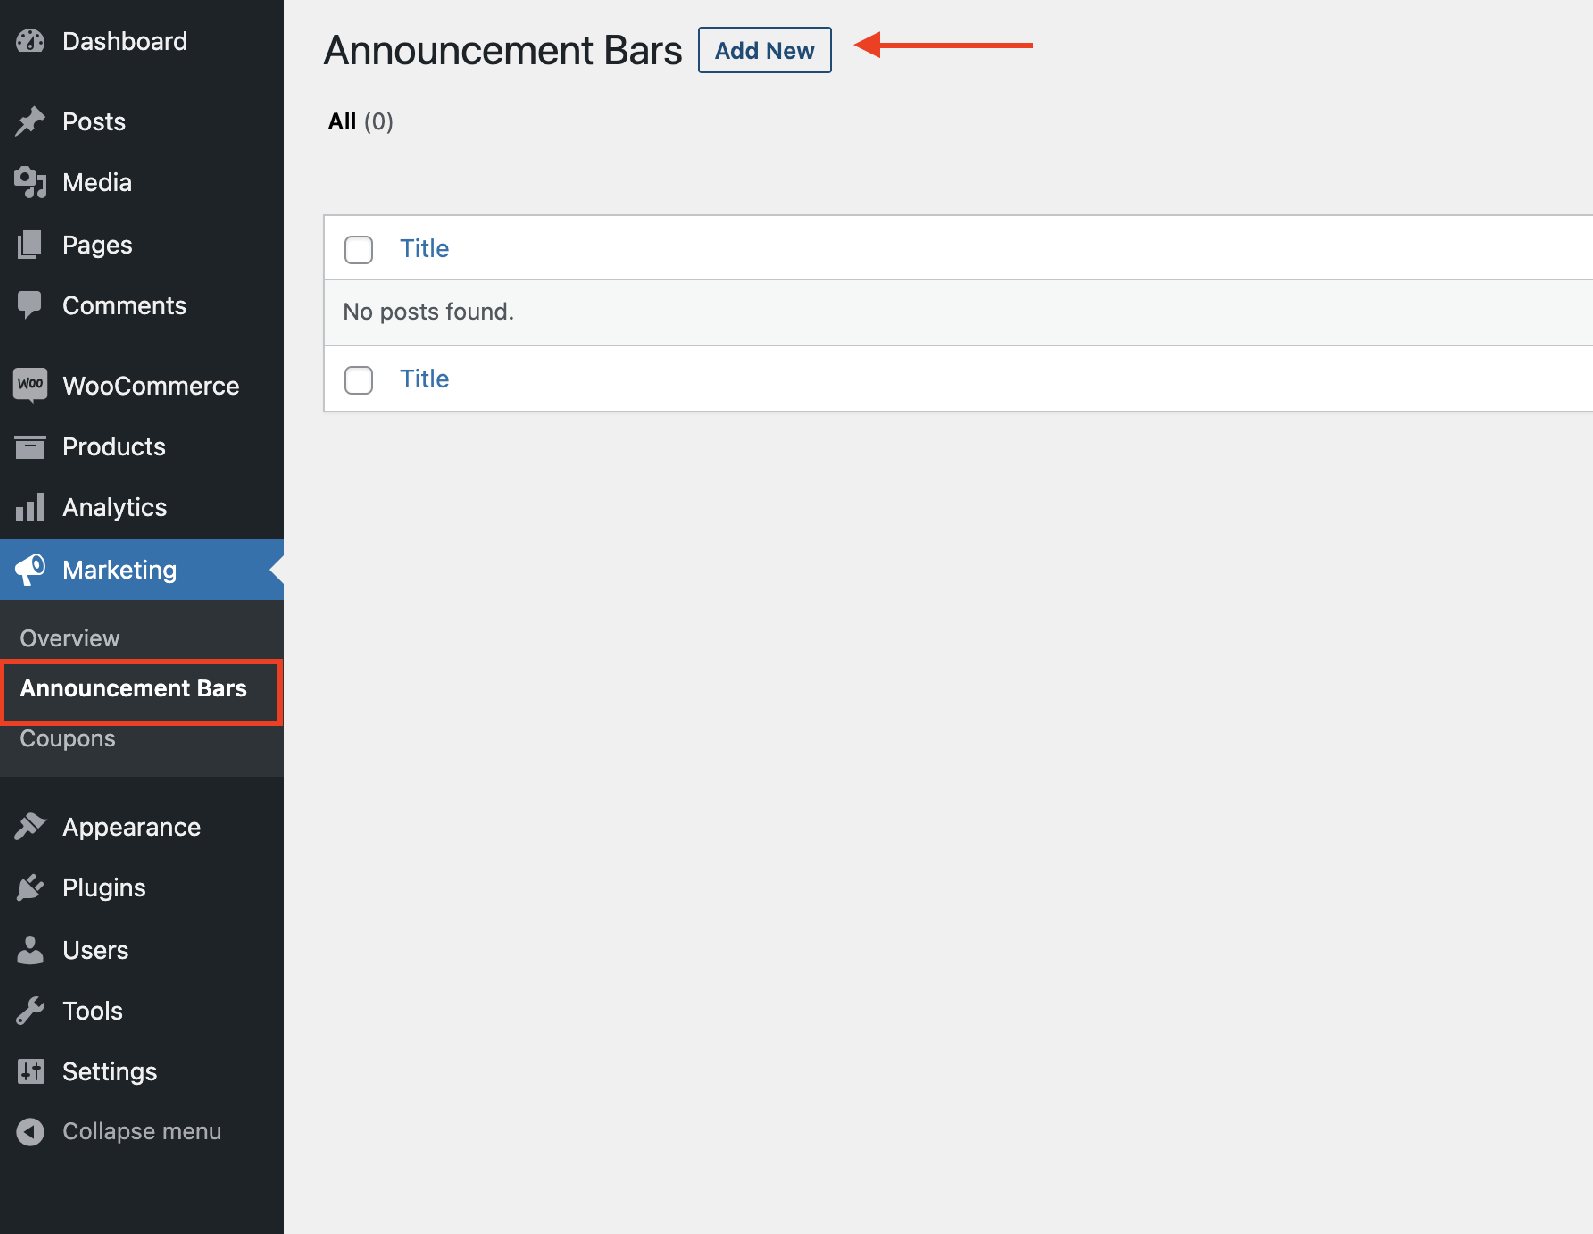
Step 6: On your wp-admin, go to Marketing → Announcement Bars and select Add New.
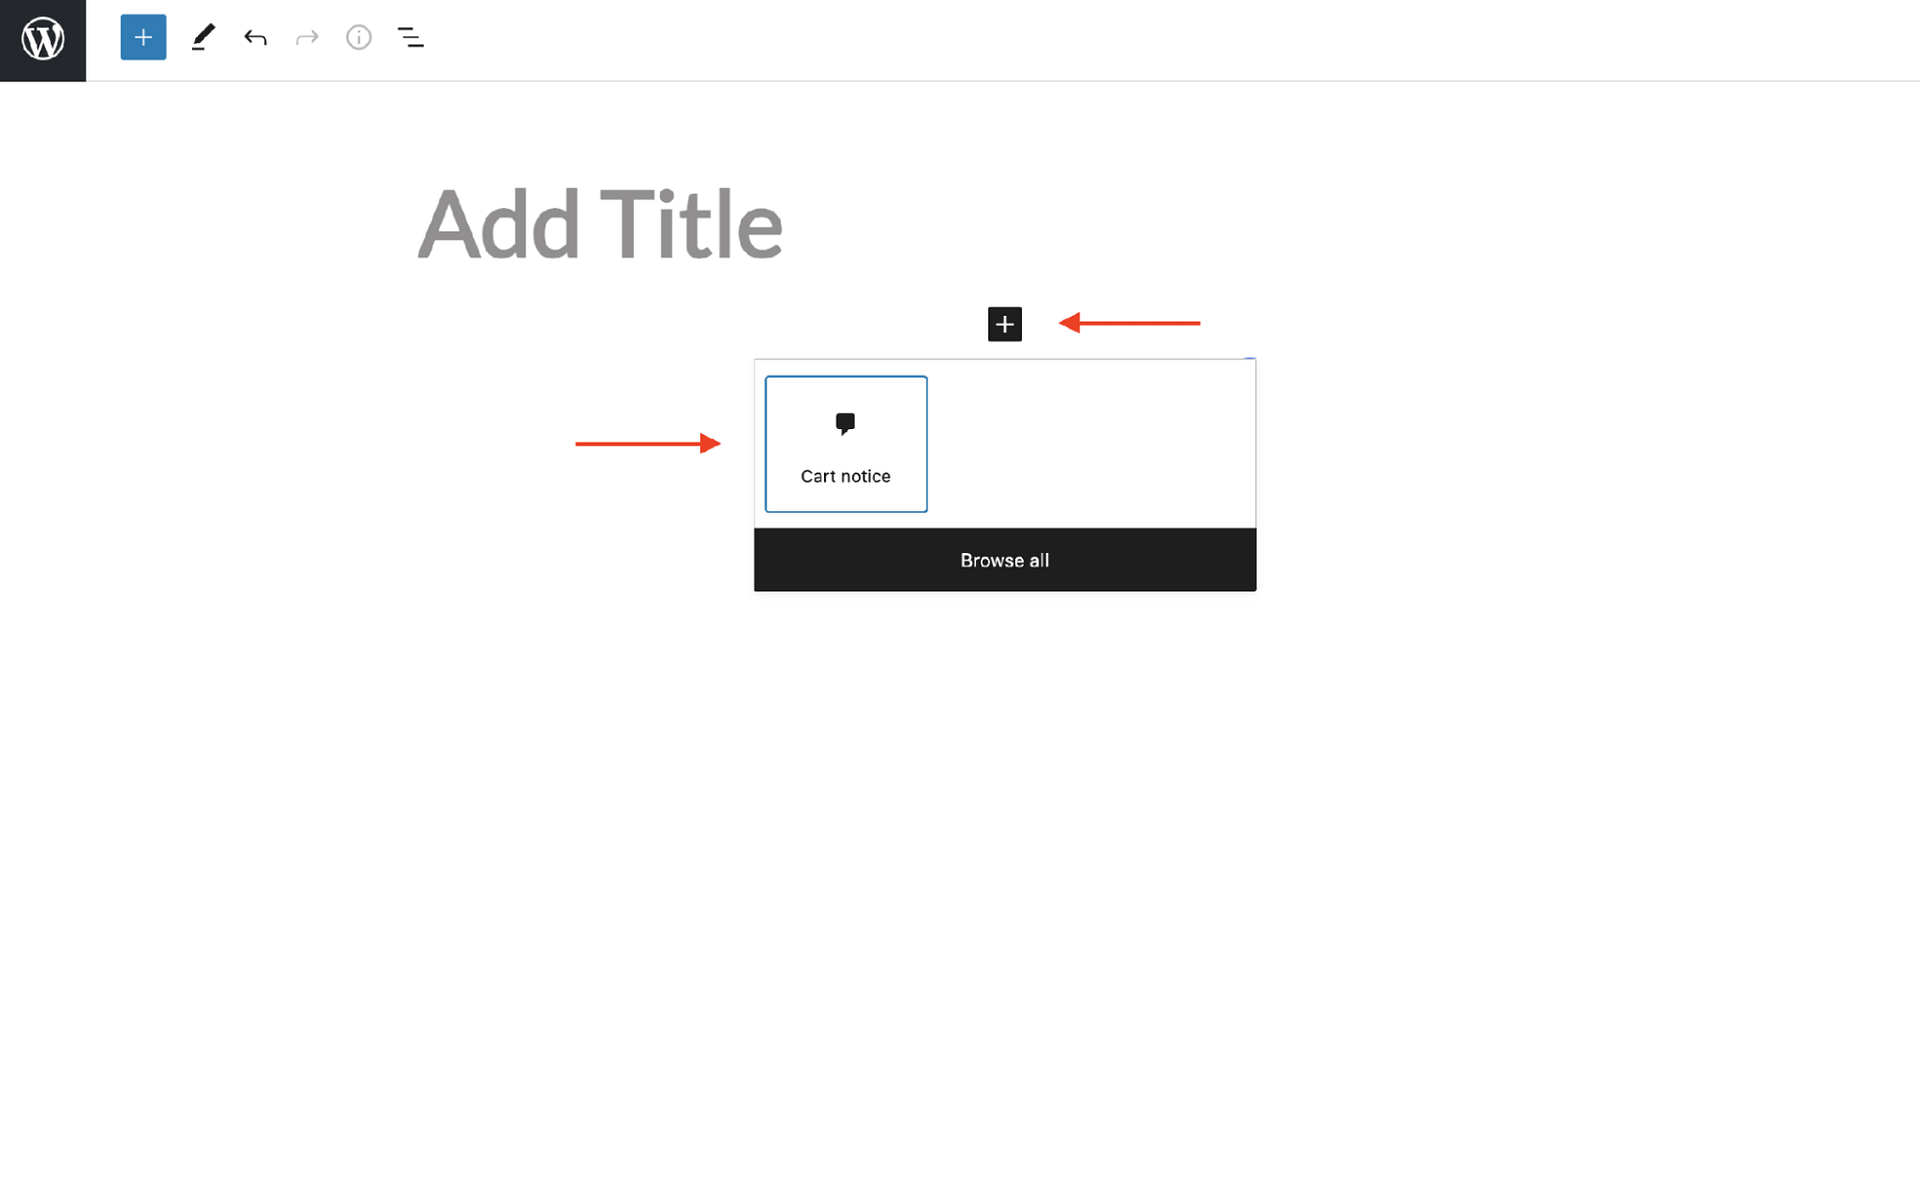
Step 7: A new page will open with the Gutenberg editor.
Use the Block Inserter (or the “+” sign) to insert the Cart notice block.
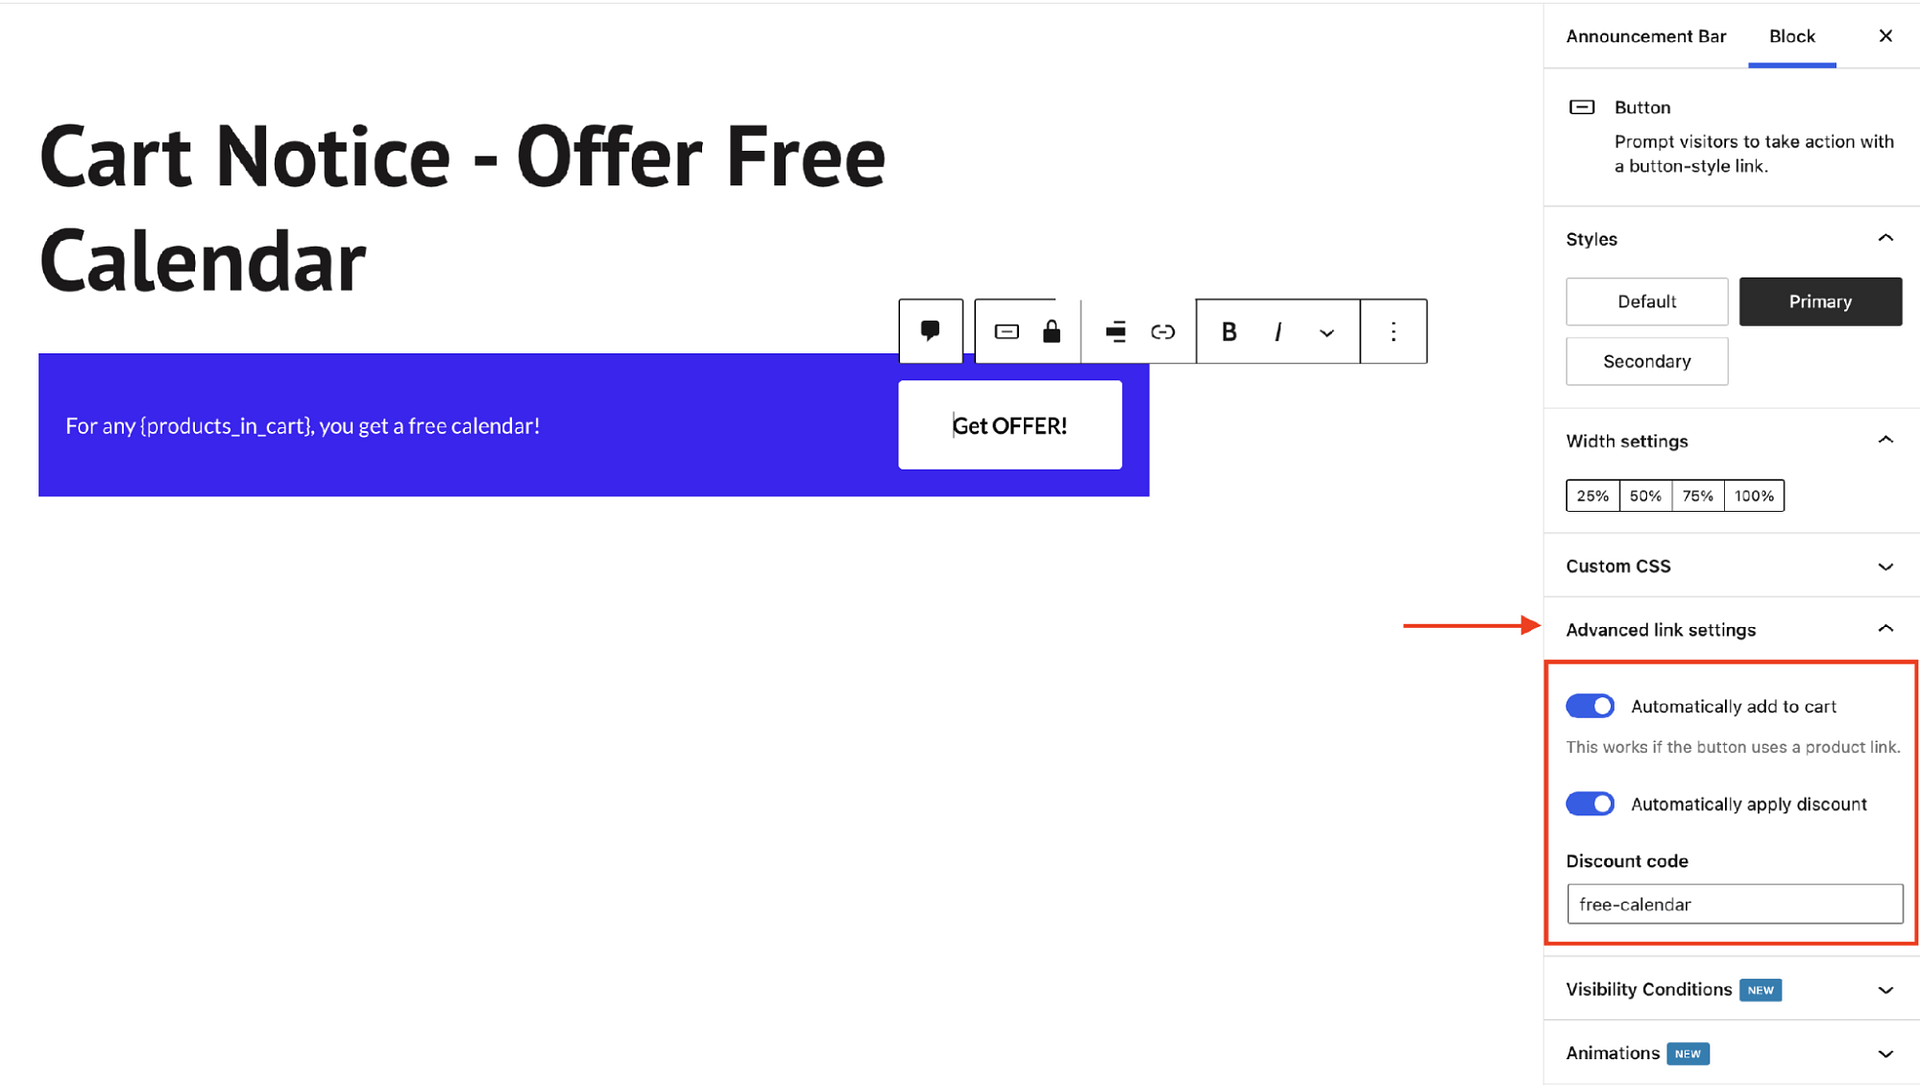
Step 8: In the notification bar, add CTAs of your choice.
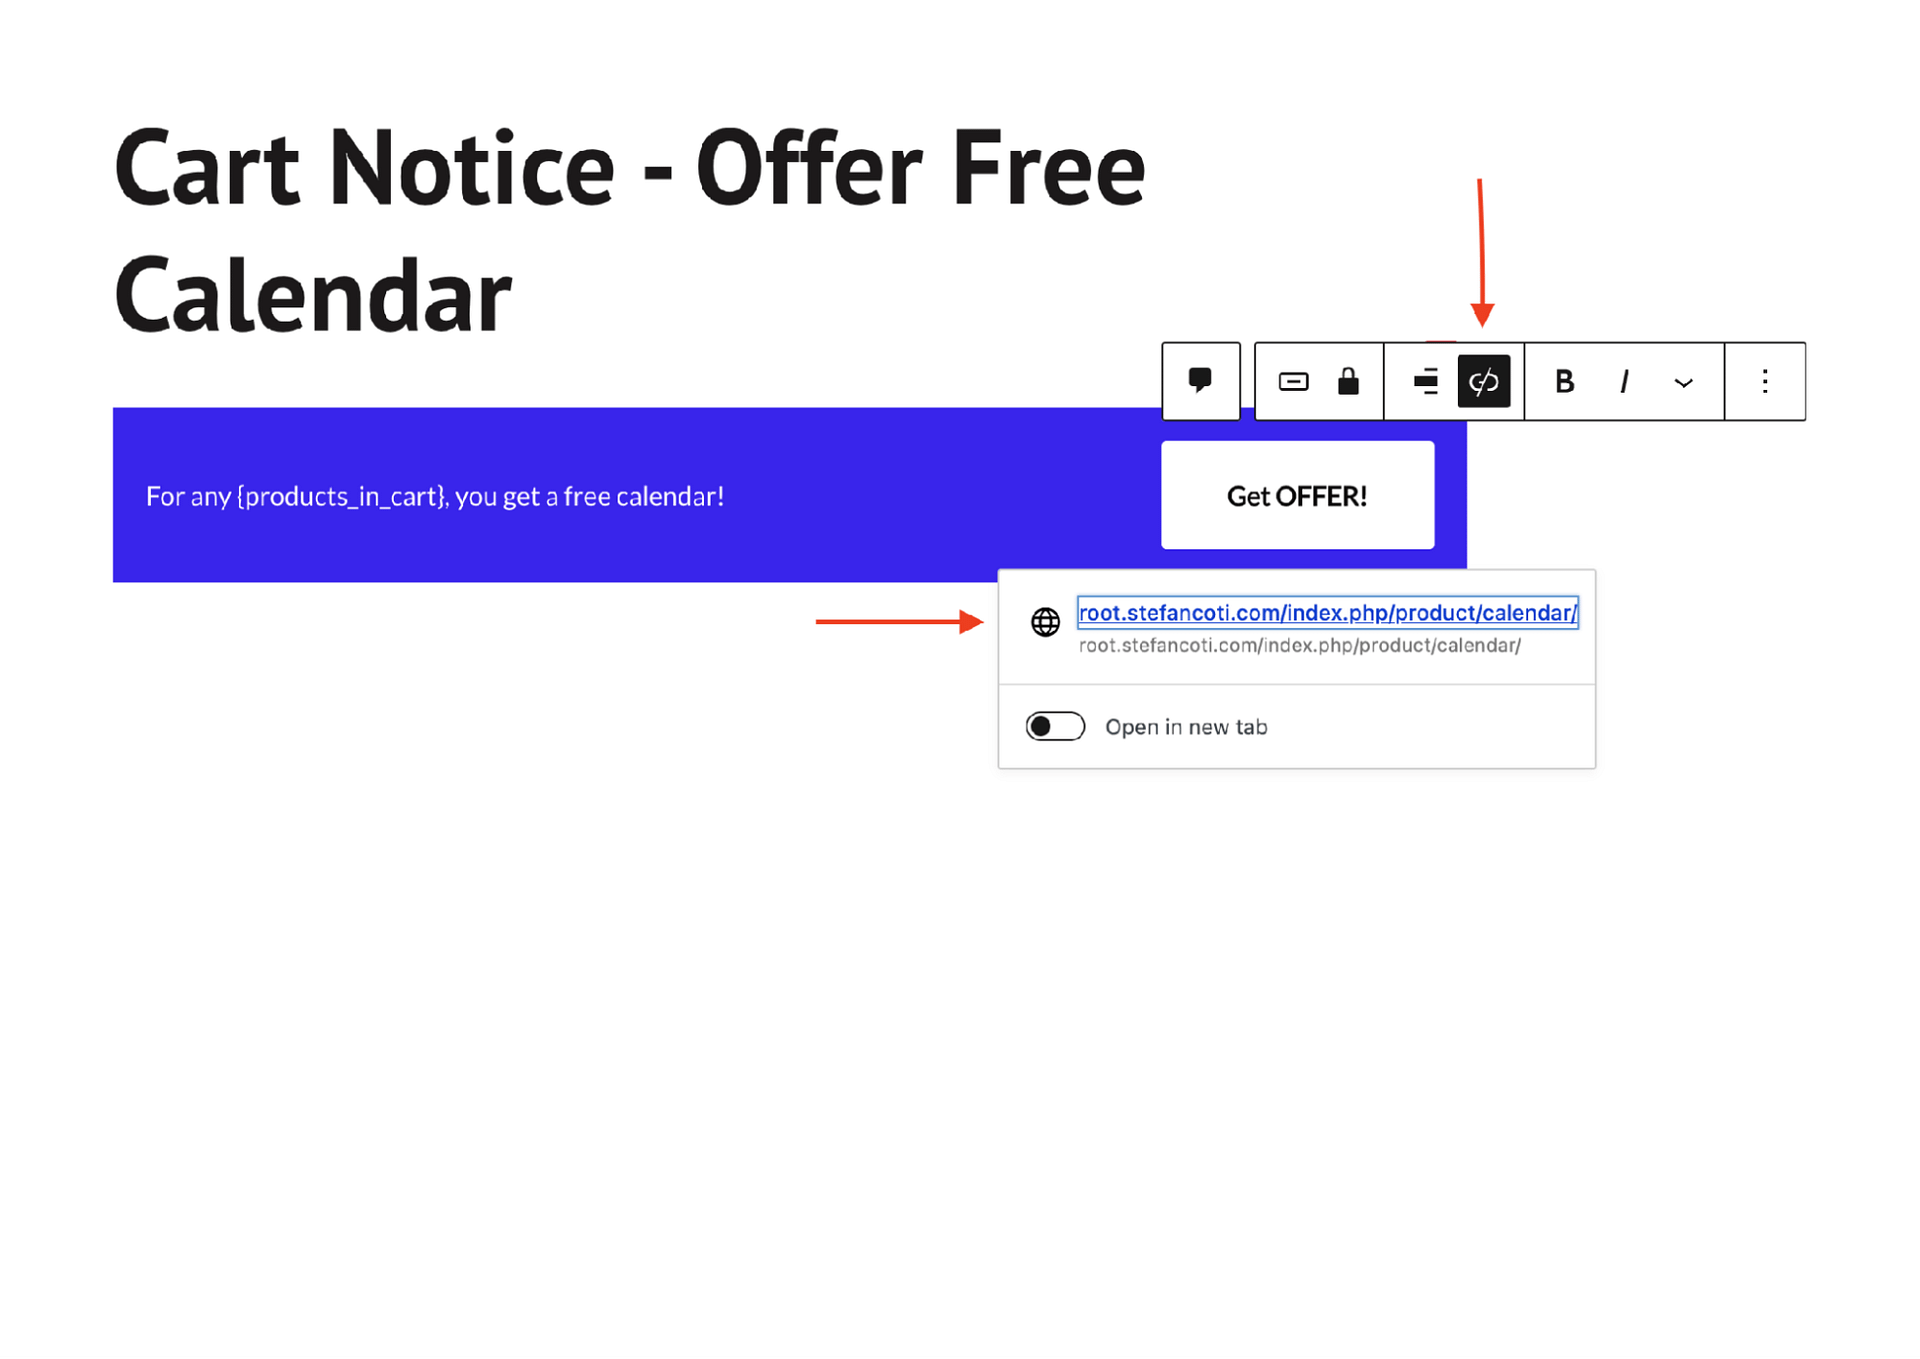
Then, select the button within the notification bar and go to the Advanced link settings on the right side of your screen. Toggle on these two options: Automatically add to to cart and Automatically apply discount.
Then add the coupon code you created in one of the previous steps.
Step 9: Grab the page link of the free product/gift and add it to the button in the notification bar.
Step 10: Next, navigate to the Display conditions option and select Product in cart. Go to the Display location option and select Show on cart and Show on checkout.
Save settings by hitting the Publish or Update button.
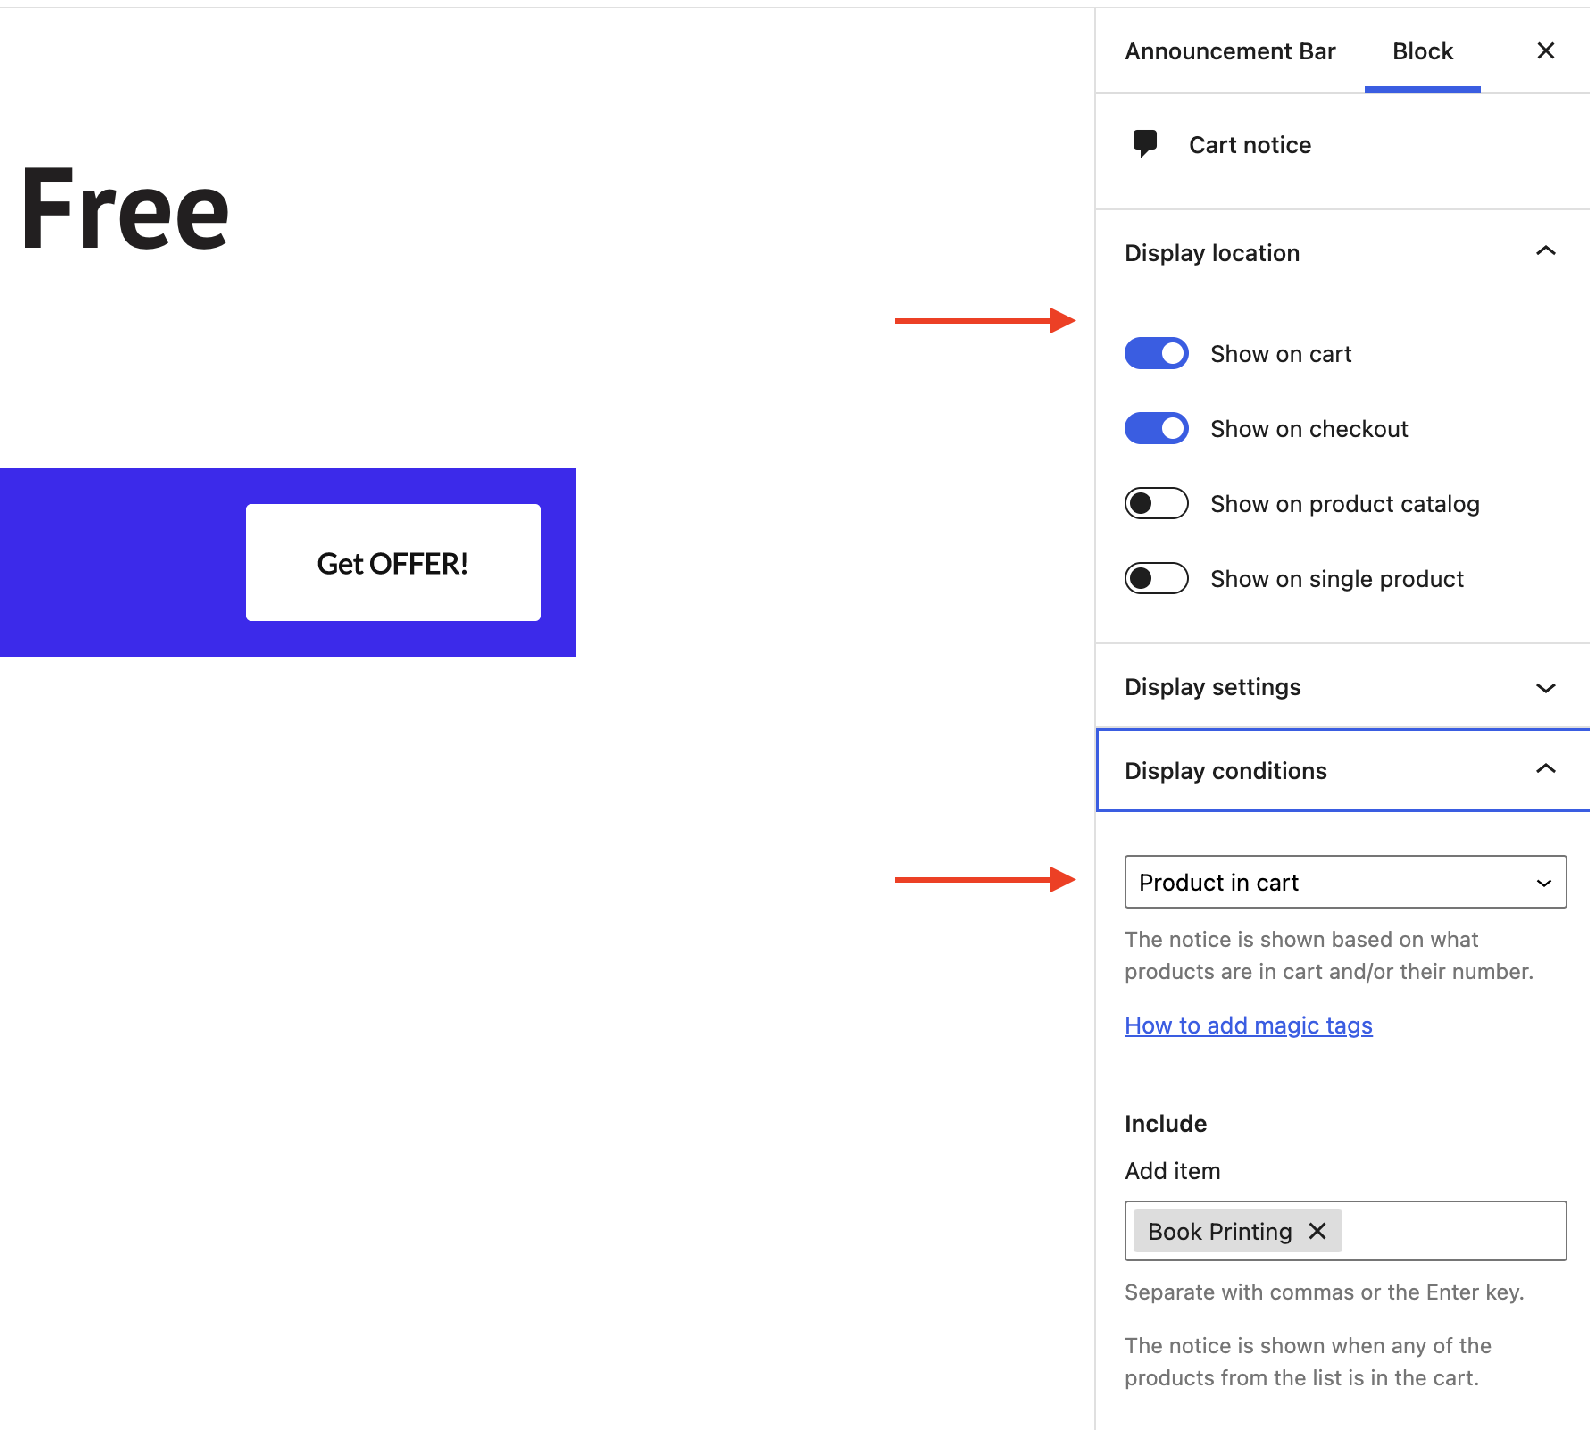
That’s it. The store will show the notification bar to anyone who adds a product to the cart.
Conclusion 
A WordPress notification bar is an incredibly handy tool that can be used to capture emails, promote offers, show important announcements, direct traffic to different pages, and much more.
While there are many notification plugins out there, few are as powerful and uncomplicated as the following:
All these plugins are easy to use. You can create a notification bar and set it up within minutes using any of the plugins listed here.
We showed this earlier in the article by creating a notification bar for a WordPress website and a WooCommerce store using the Otter Blocks and Sparks plugin.
If you have questions about notification bars or Otter Blocks and Sparks plugins in particular, let us know in the comments below.
The post WordPress Notification Bar: How to Create One (+ 5 Best Plugins) appeared first on Revive Social.
Revive Social